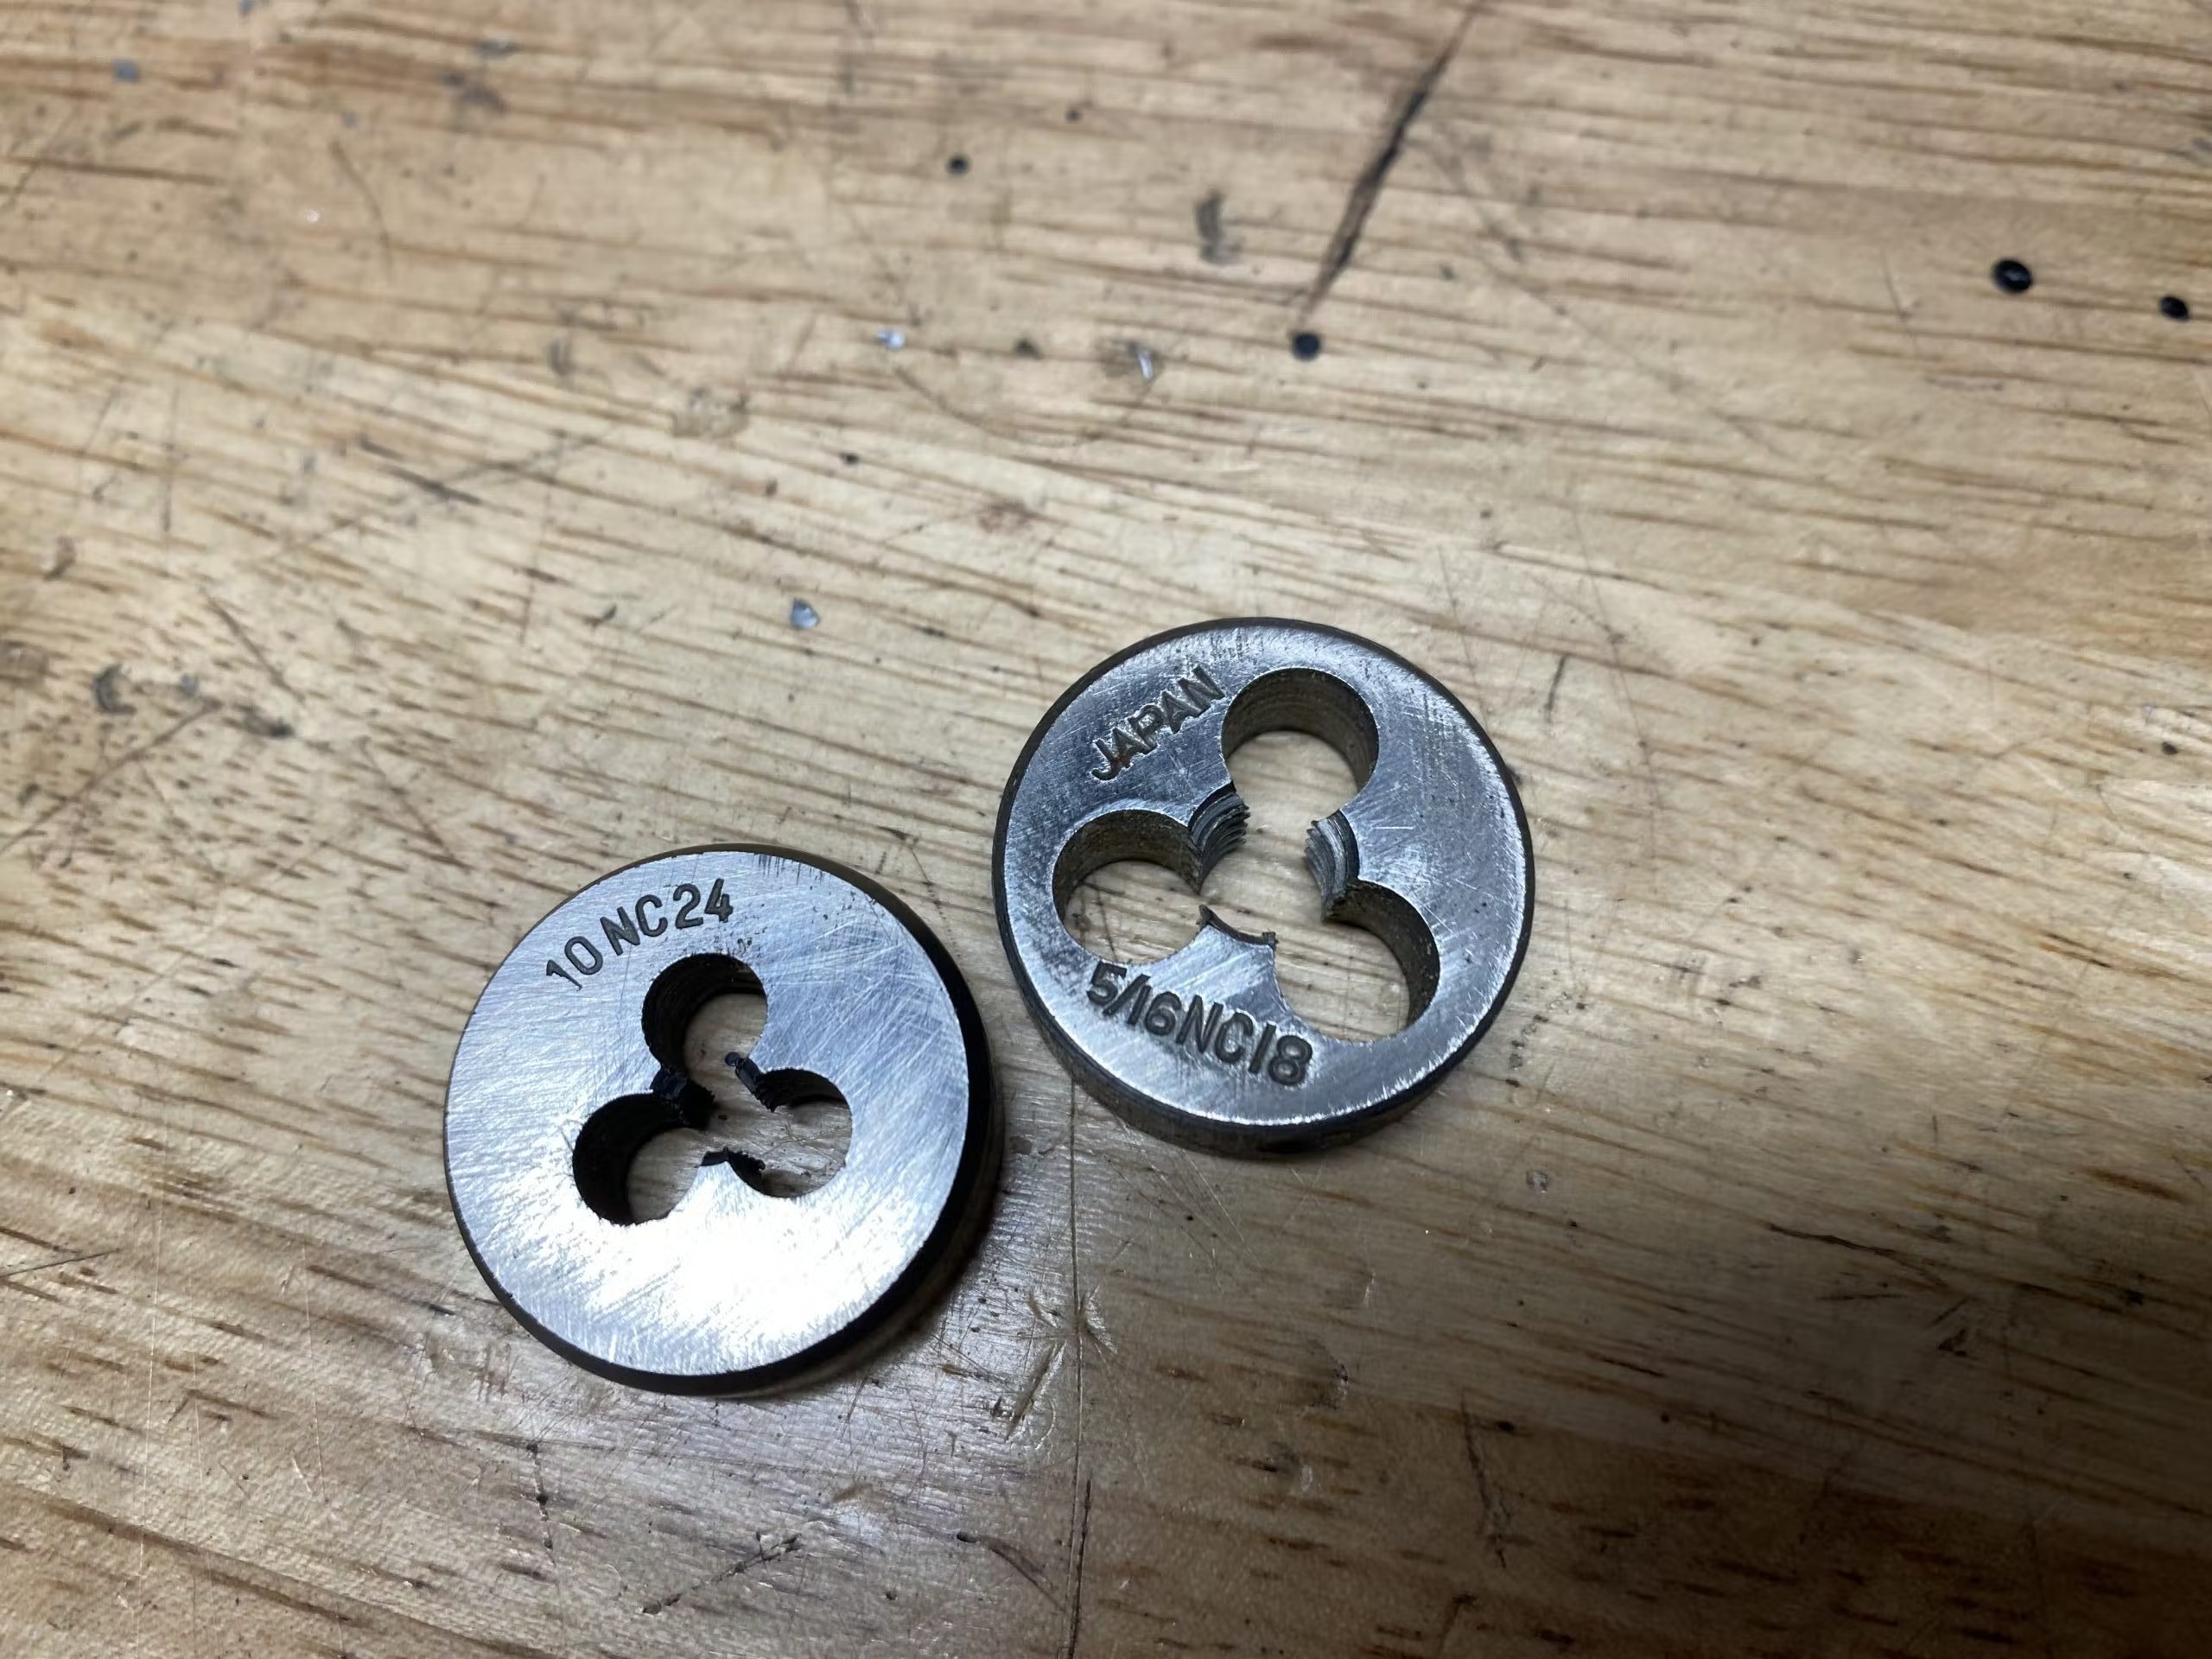
Cross thread, damaged thread, need a new thread? All three are encountered often enough when working on a classic car or motorcycle. Female threads are cut using taps and male threads with dies, both of which can which can be bought in sets or individually.
Threads come in all sorts, with metric the standard in the UK today, but some of the threads found on classic cars, like UNF (Unified Fine), UNC (Unified Coarse), and going back further still, BSF (British Standard Fine) or BSW (British Standard Whitworth) are much rarer, with nuts and bolts available only from specialist suppliers.
For that reason, having taps and dies on hand to fix problems or cut threads when you need to could be incredibly useful.

Threads are differentiated by the pitch, which is the distance between each individual turn of the thread. The top of each thread is called the crest and the valley between them, the root. The sloping sides of the thread are called the flanks and the angle of the flanks varies from thread to thread. Even if two different types of thread have the same pitch and diameter, they may be incompatible, so a set of thread gauges is useful for identifying an existing thread (they look a bit like tiny saw blades).
Once you’ve established the types of thread used on your classic, a set of taps and dies is worth buying and it doesn’t have to break the bank. Decent quality taps and dies come in two main types, carbon steel and high speed steel (HSS). HSS are the highest quality and least prone to wear but pricey, so for occasional use, decent carbon steel tools are fine.
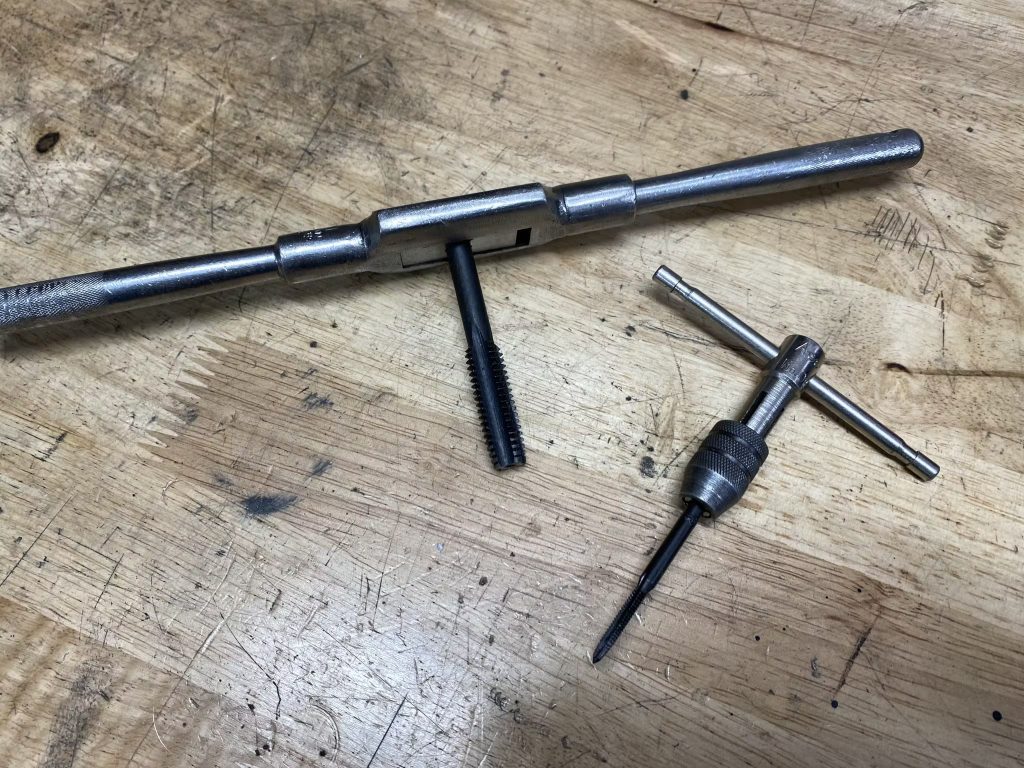
Cutting a thread from scratch has to be done in stages, shallow at first, getting deeper until the full depth of the thread is cut. With a male thread, that’s simple enough because dies are split and used in a die wrench. The wrench usually has three screws in the circular body, the two outer trying to squash the die into a smaller diameter and the screw at the centre, which has a pointed tip, trying to open it up. By juggling the two, it’s easy enough to progressively reduce the diameter of the die with each cut.
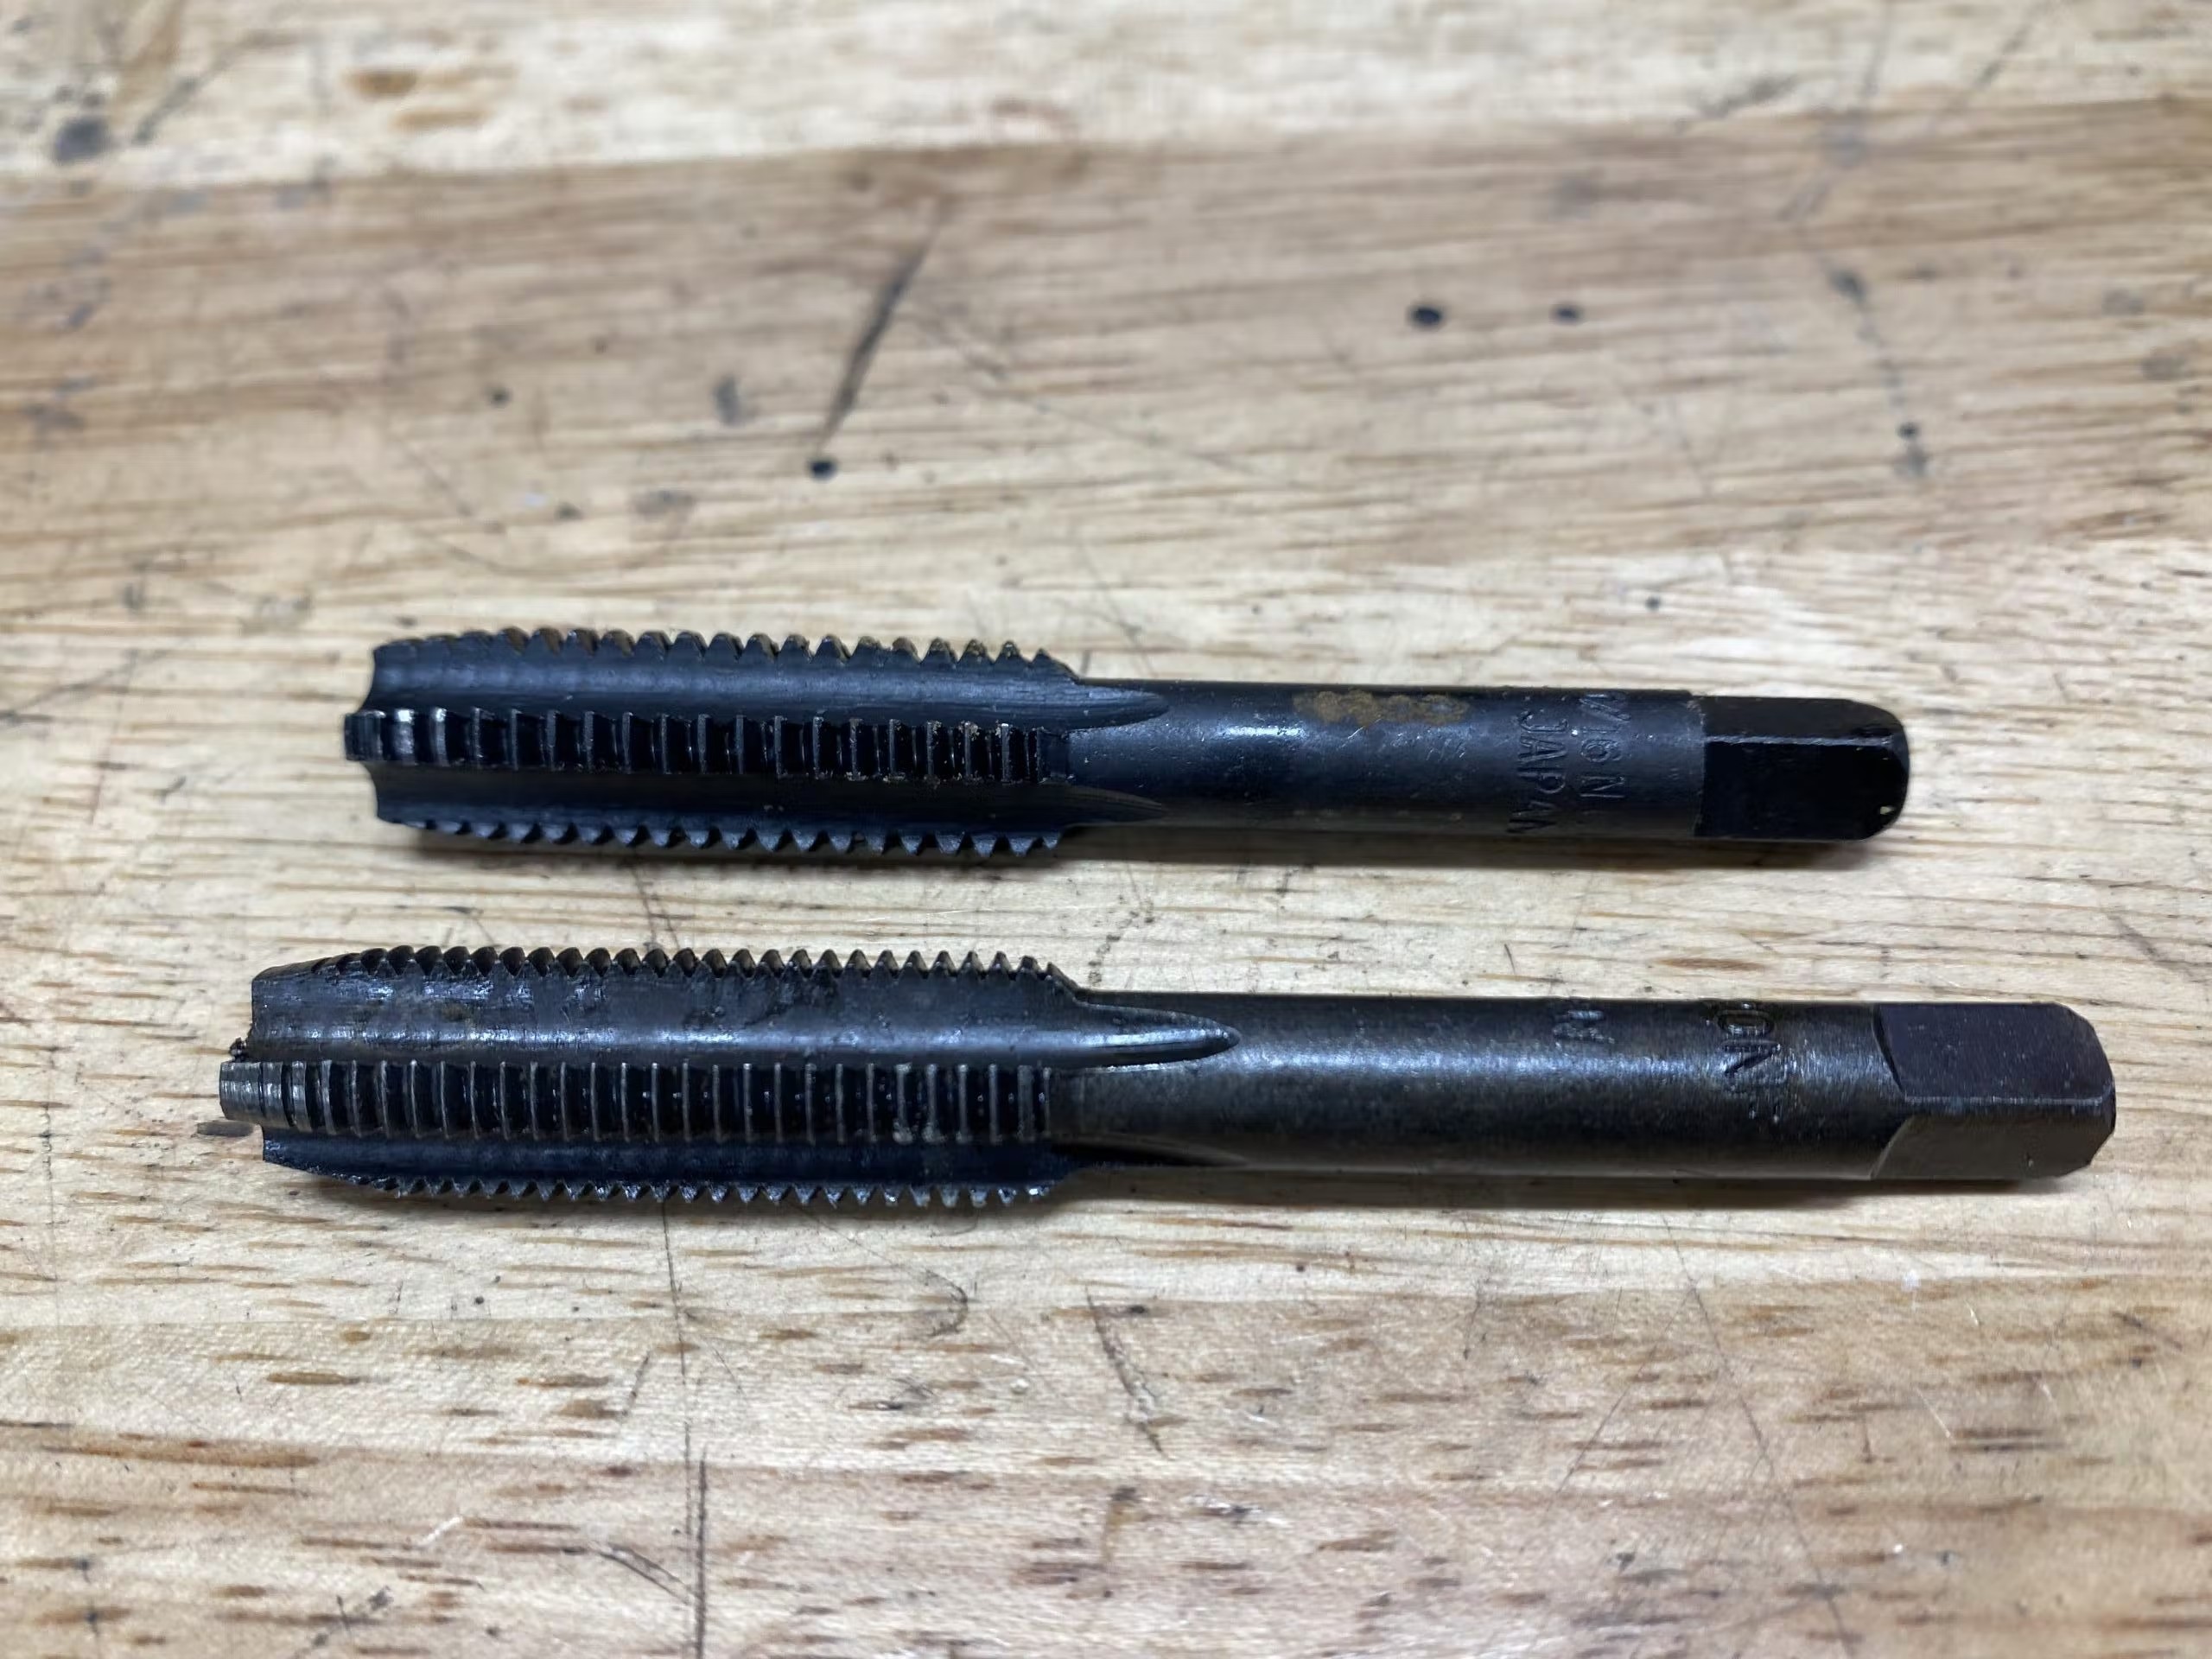
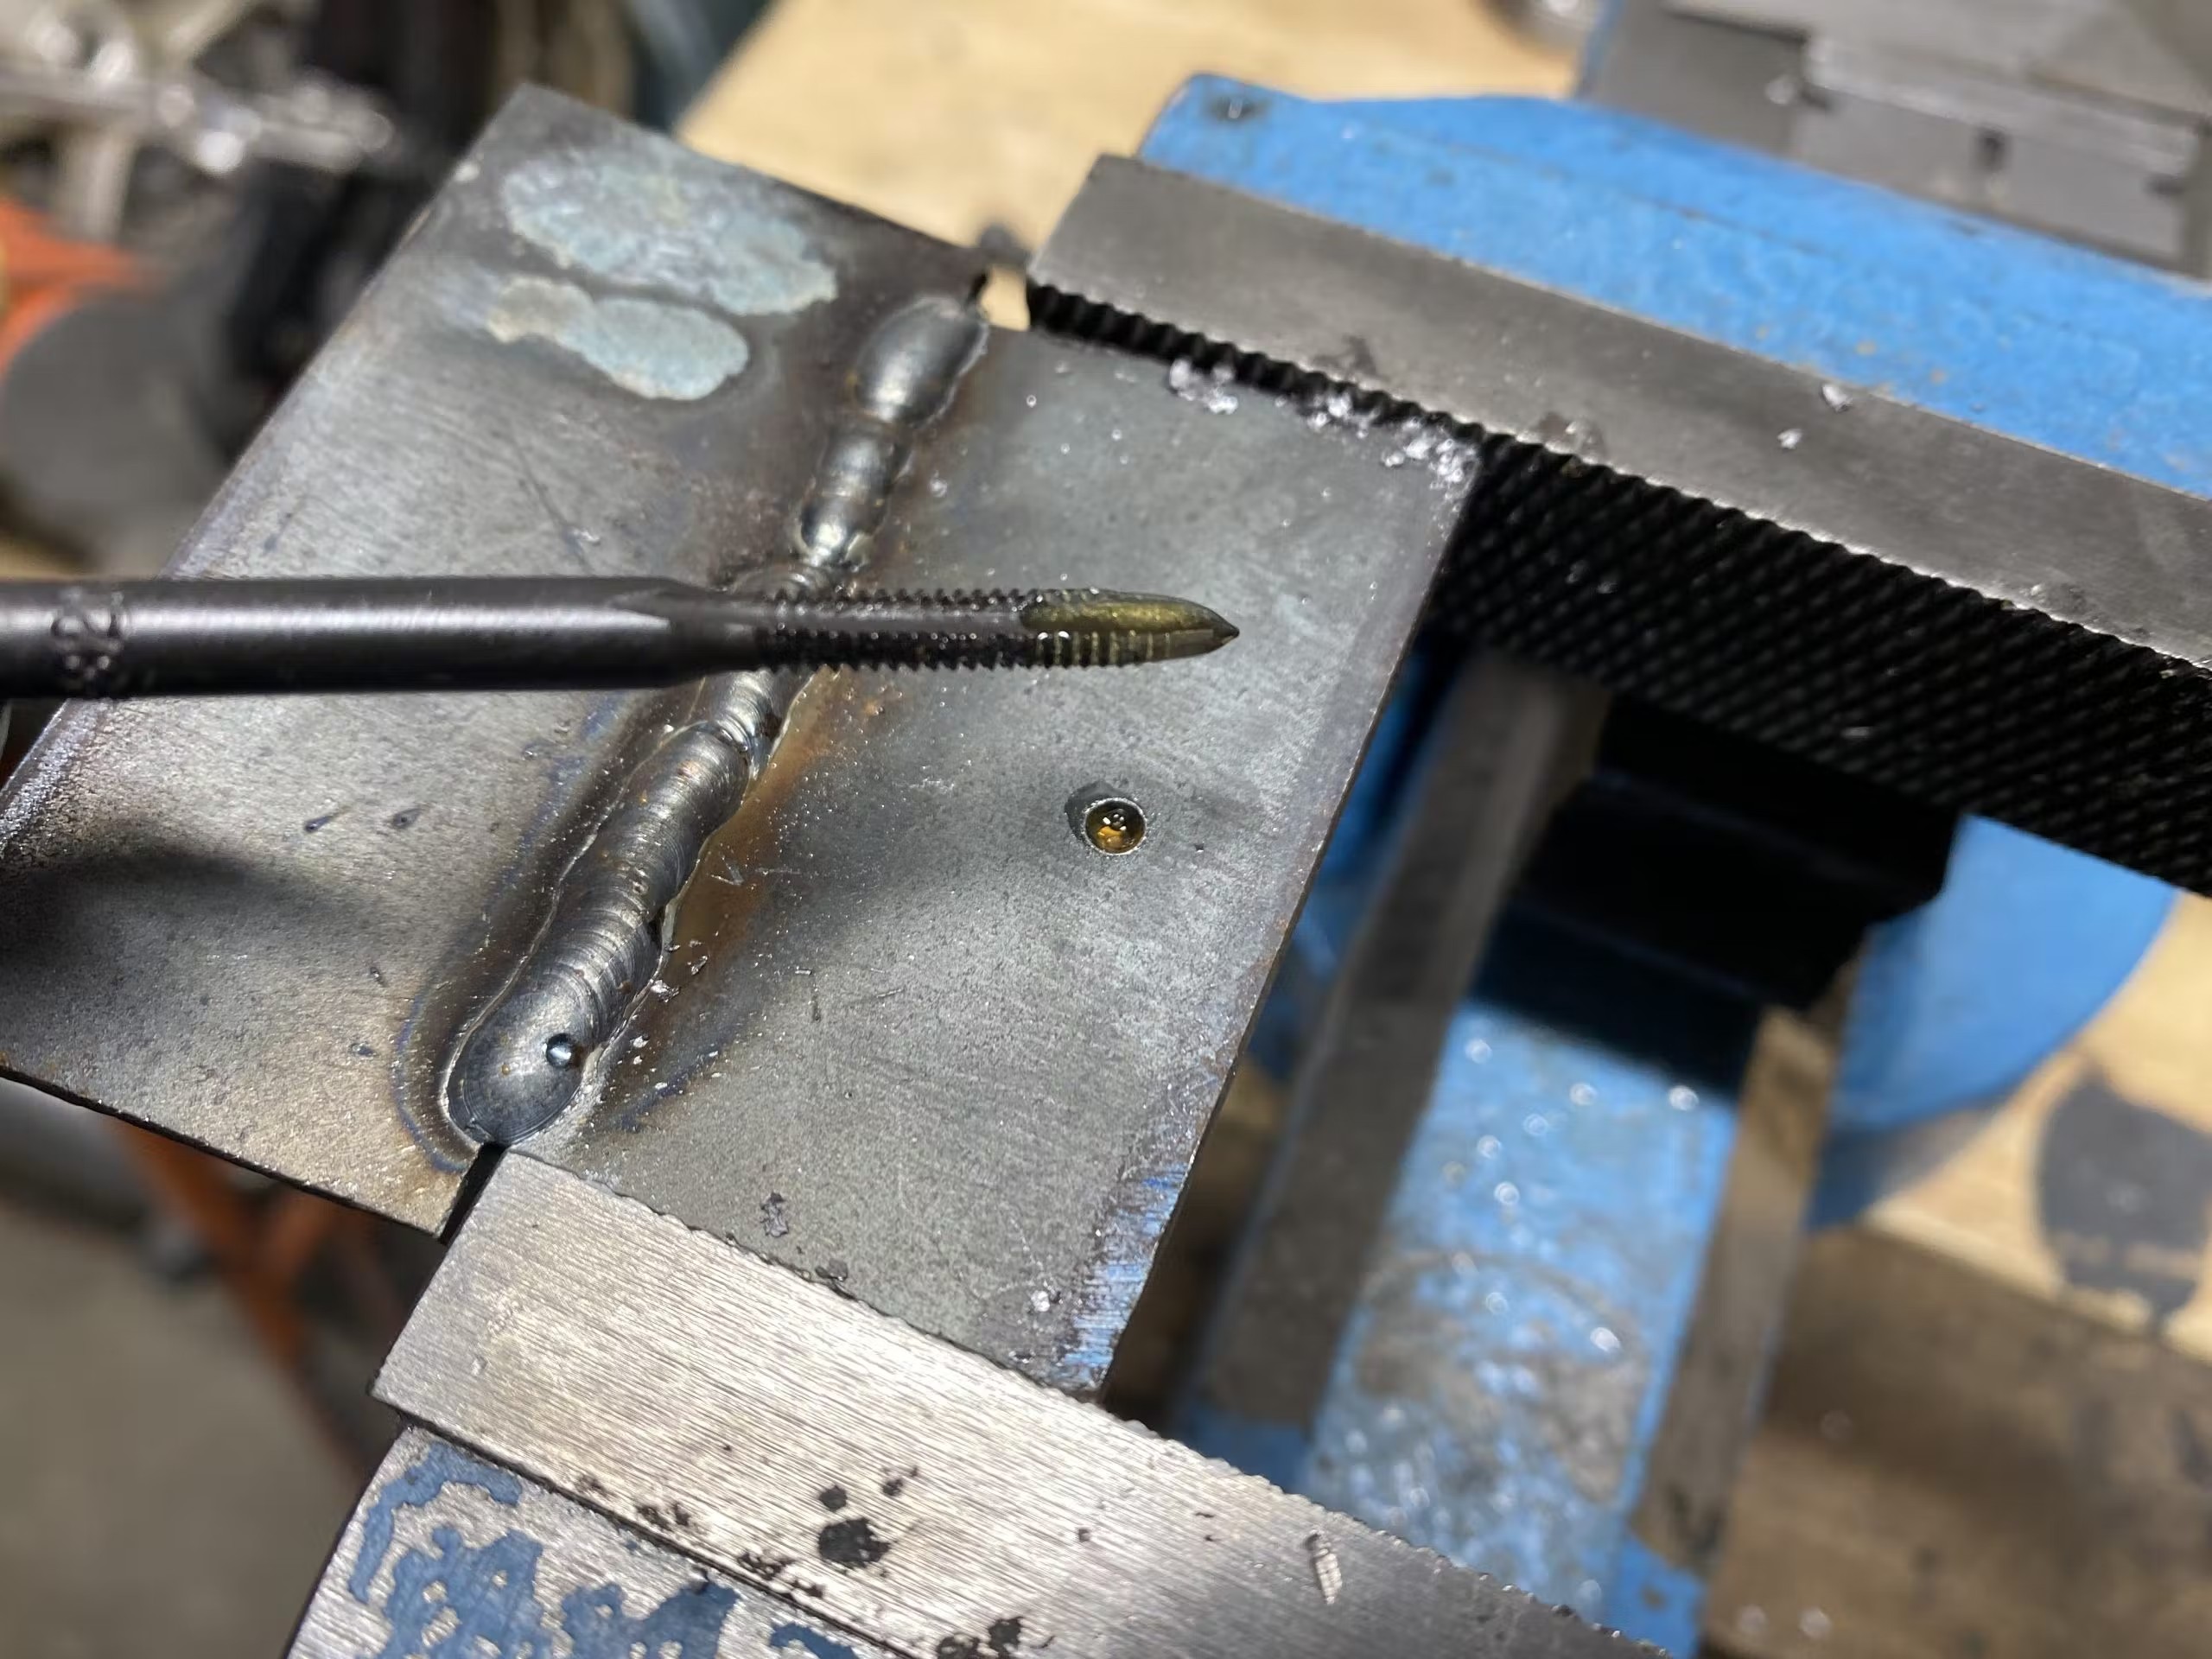
With taps, adjustment isn’t possible so for each thread size there are three taps, a taper (to start the thread) a second, which surprise, surprise, is used second, and finally the plug. The taper, as the name implies, is ground into a taper, with not much thread at the pointy end and a full thread at the top. This makes it easier to start the thread off straight and helps ensure the thread is being cut in line as the thread progresses.
Once the thread is established, the idea is to follow with the less-tapered second and finish with the plug which is pretty well blunt ended. The thread at the top of both taper and second is full depth, so if the hole is open ended, such as through a metal plate, then either of the first two can often complete the job. The three stages really come into play when the hole is blind – it doesn’t pass all the way through the material – and the thread needs to be cut to the base of the hole. For that, a plug is essential.
Right, enough of that. How is it done? First off, a bit on the topography of a thread might be useful so we know what we’re doing. The smallest diameter measured at the root of the thread is the minor diameter. The largest diameter measured to the crests of the thread is the major diameter.
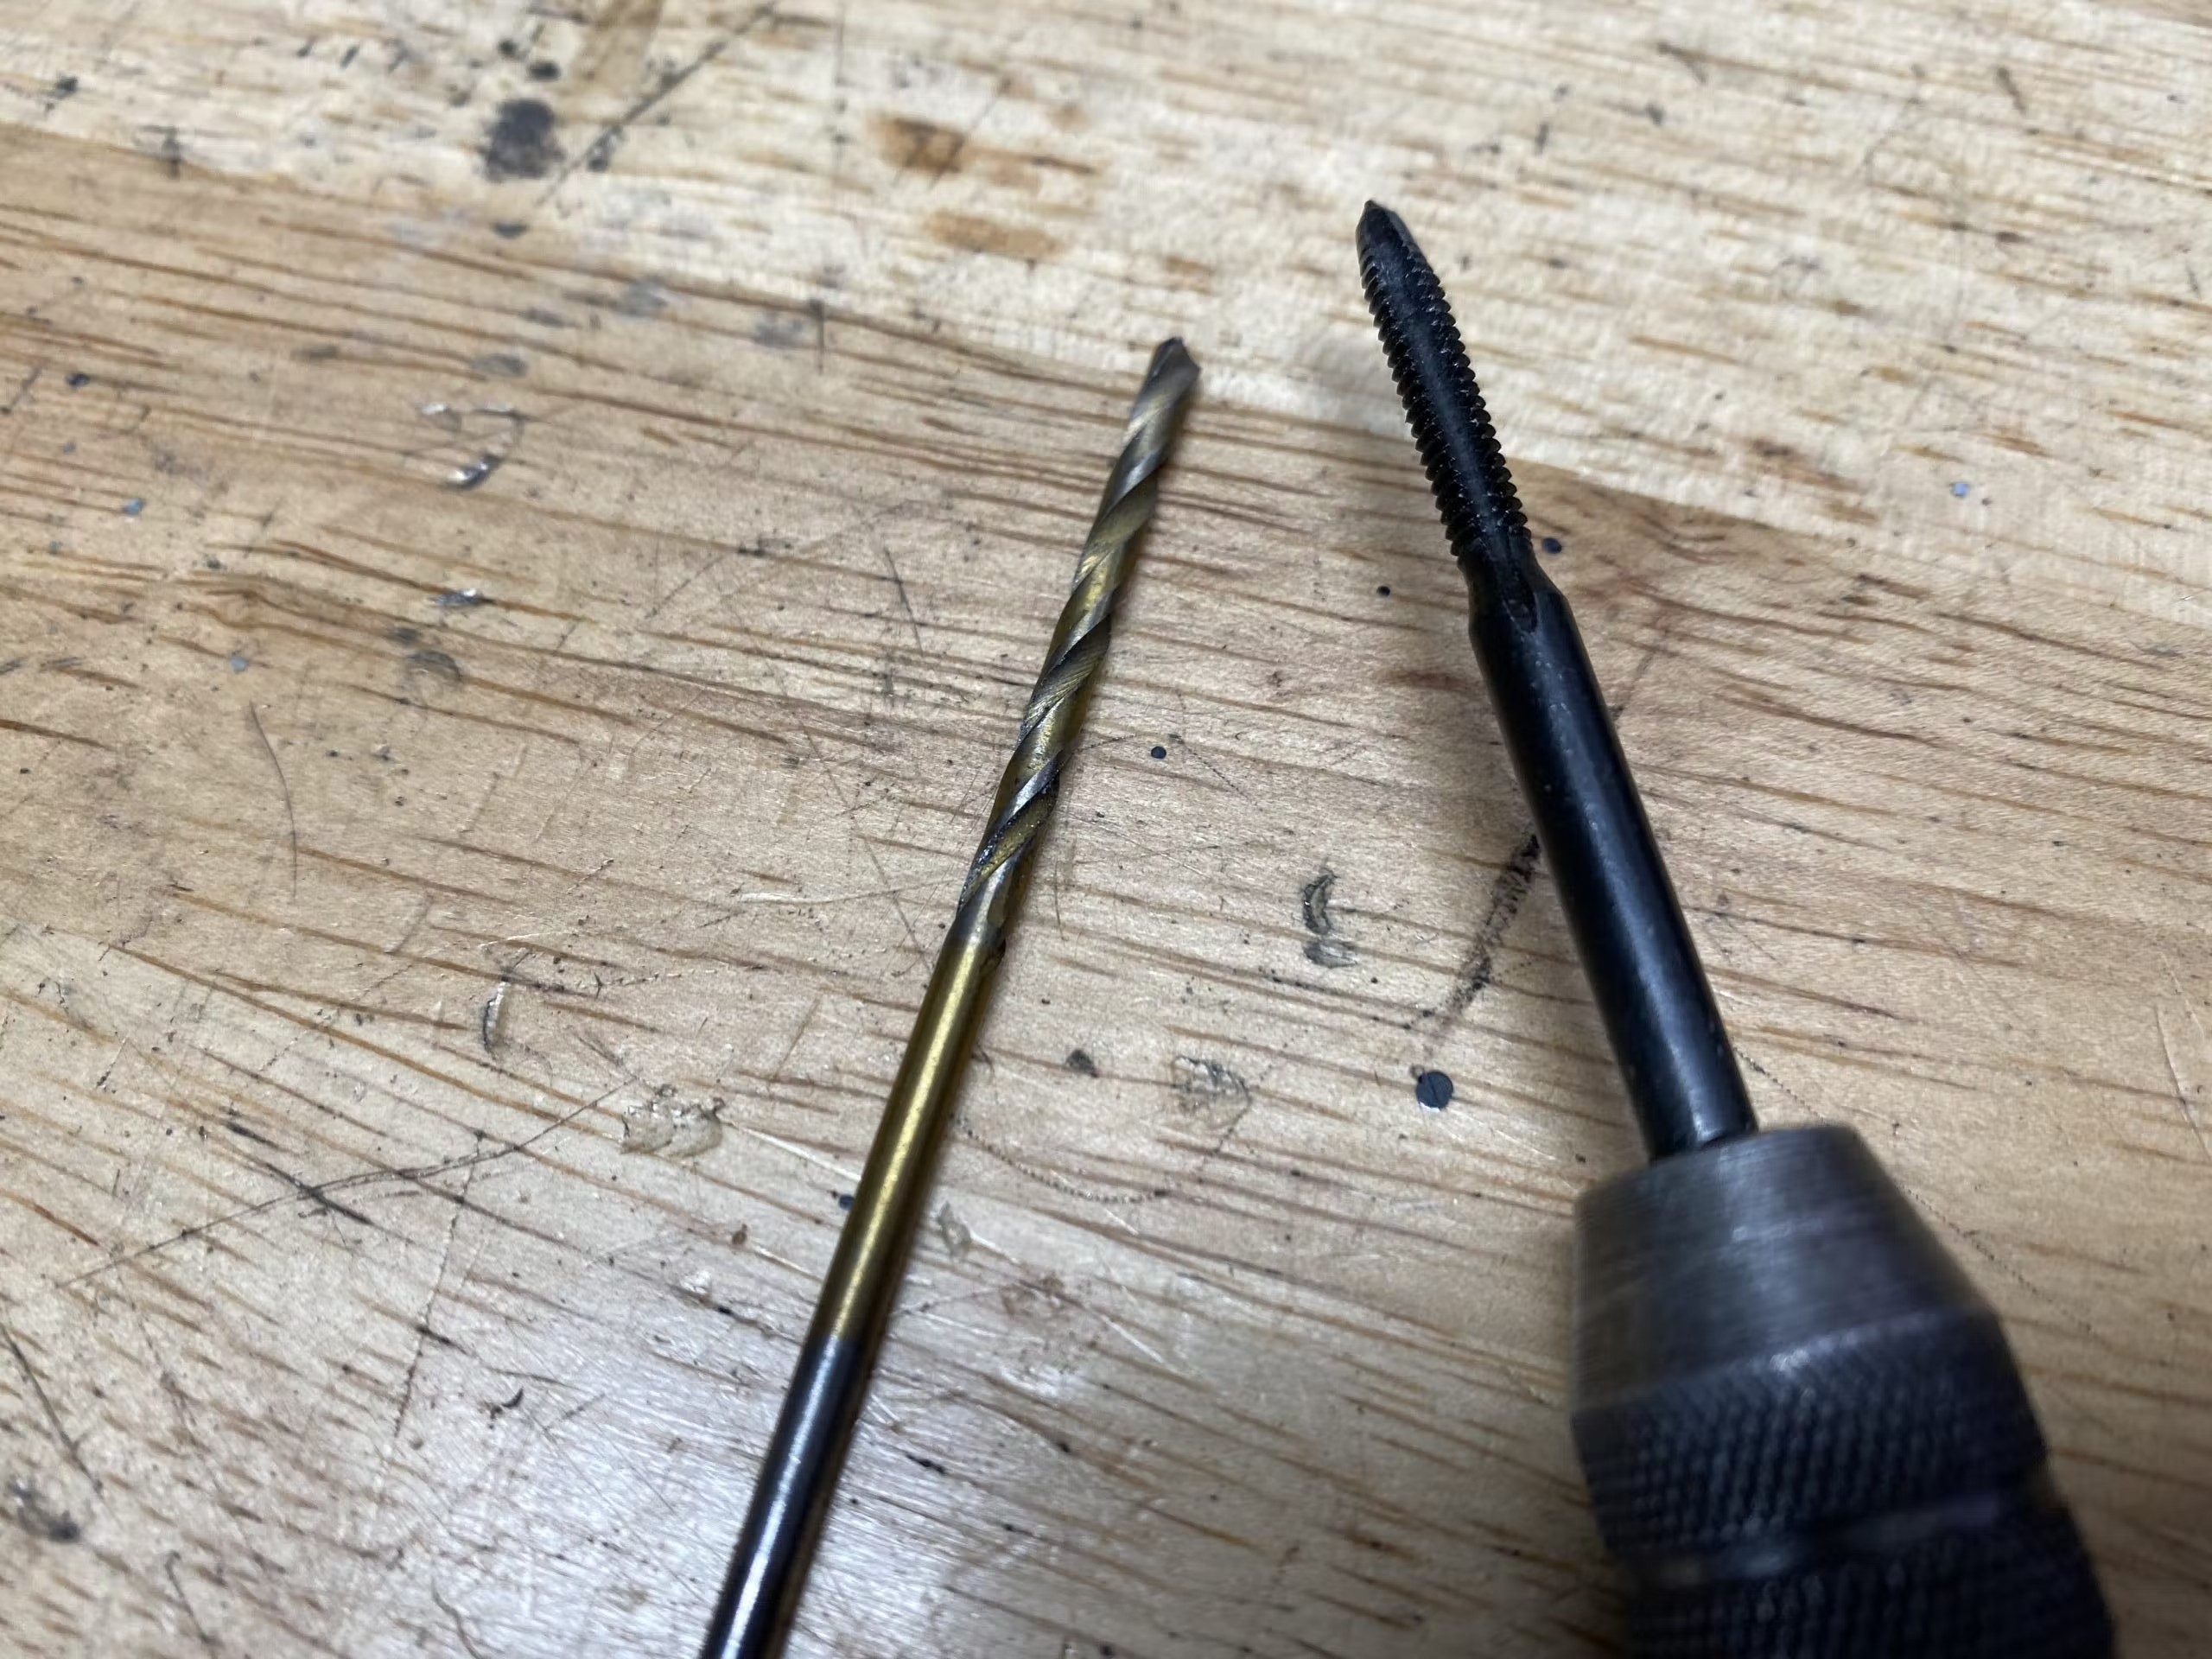
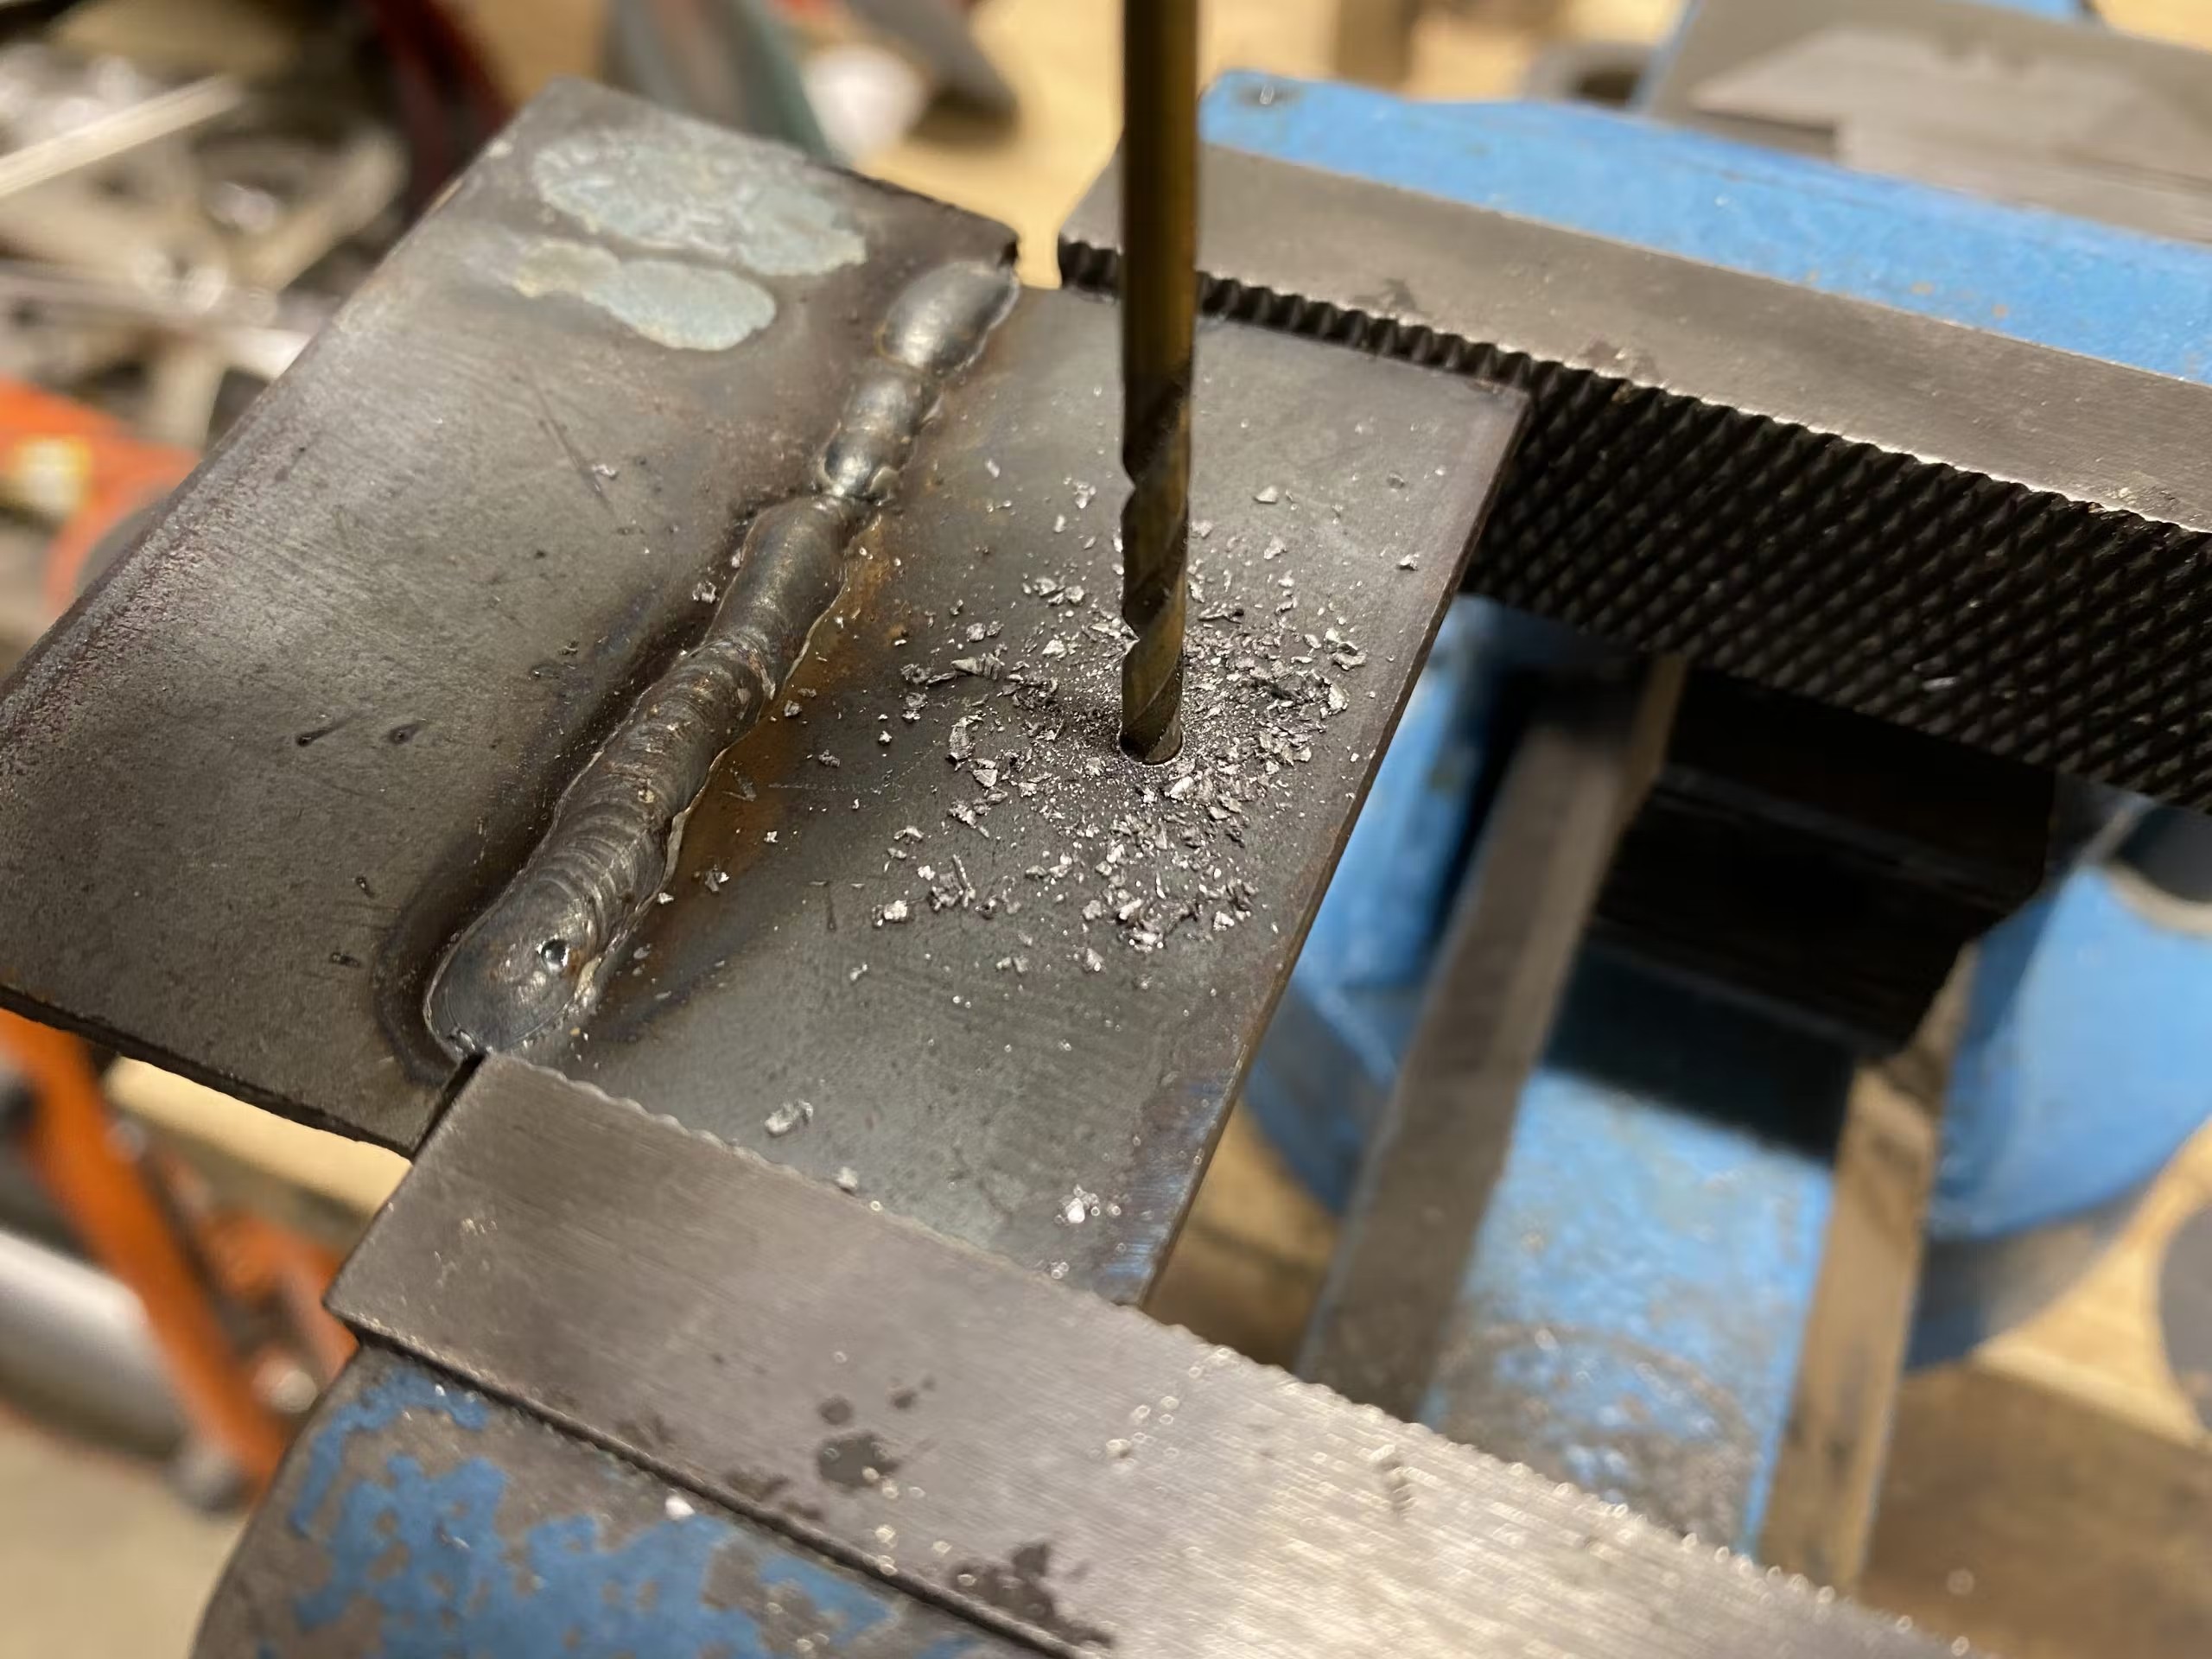
When drilling holes for threads, two drill sizes come into play. One is a clearance drill size, boring a hole just large enough for the thread to pass through, and the other is the tapping drill size, which is slightly larger than the minor diameter. Tables listing the tapping size drill for every thread are easy to find online, or they are available in print too. For cutting a male thread, choose a die that is the same size as the rod, so an 8mm die for an 8mm rod.
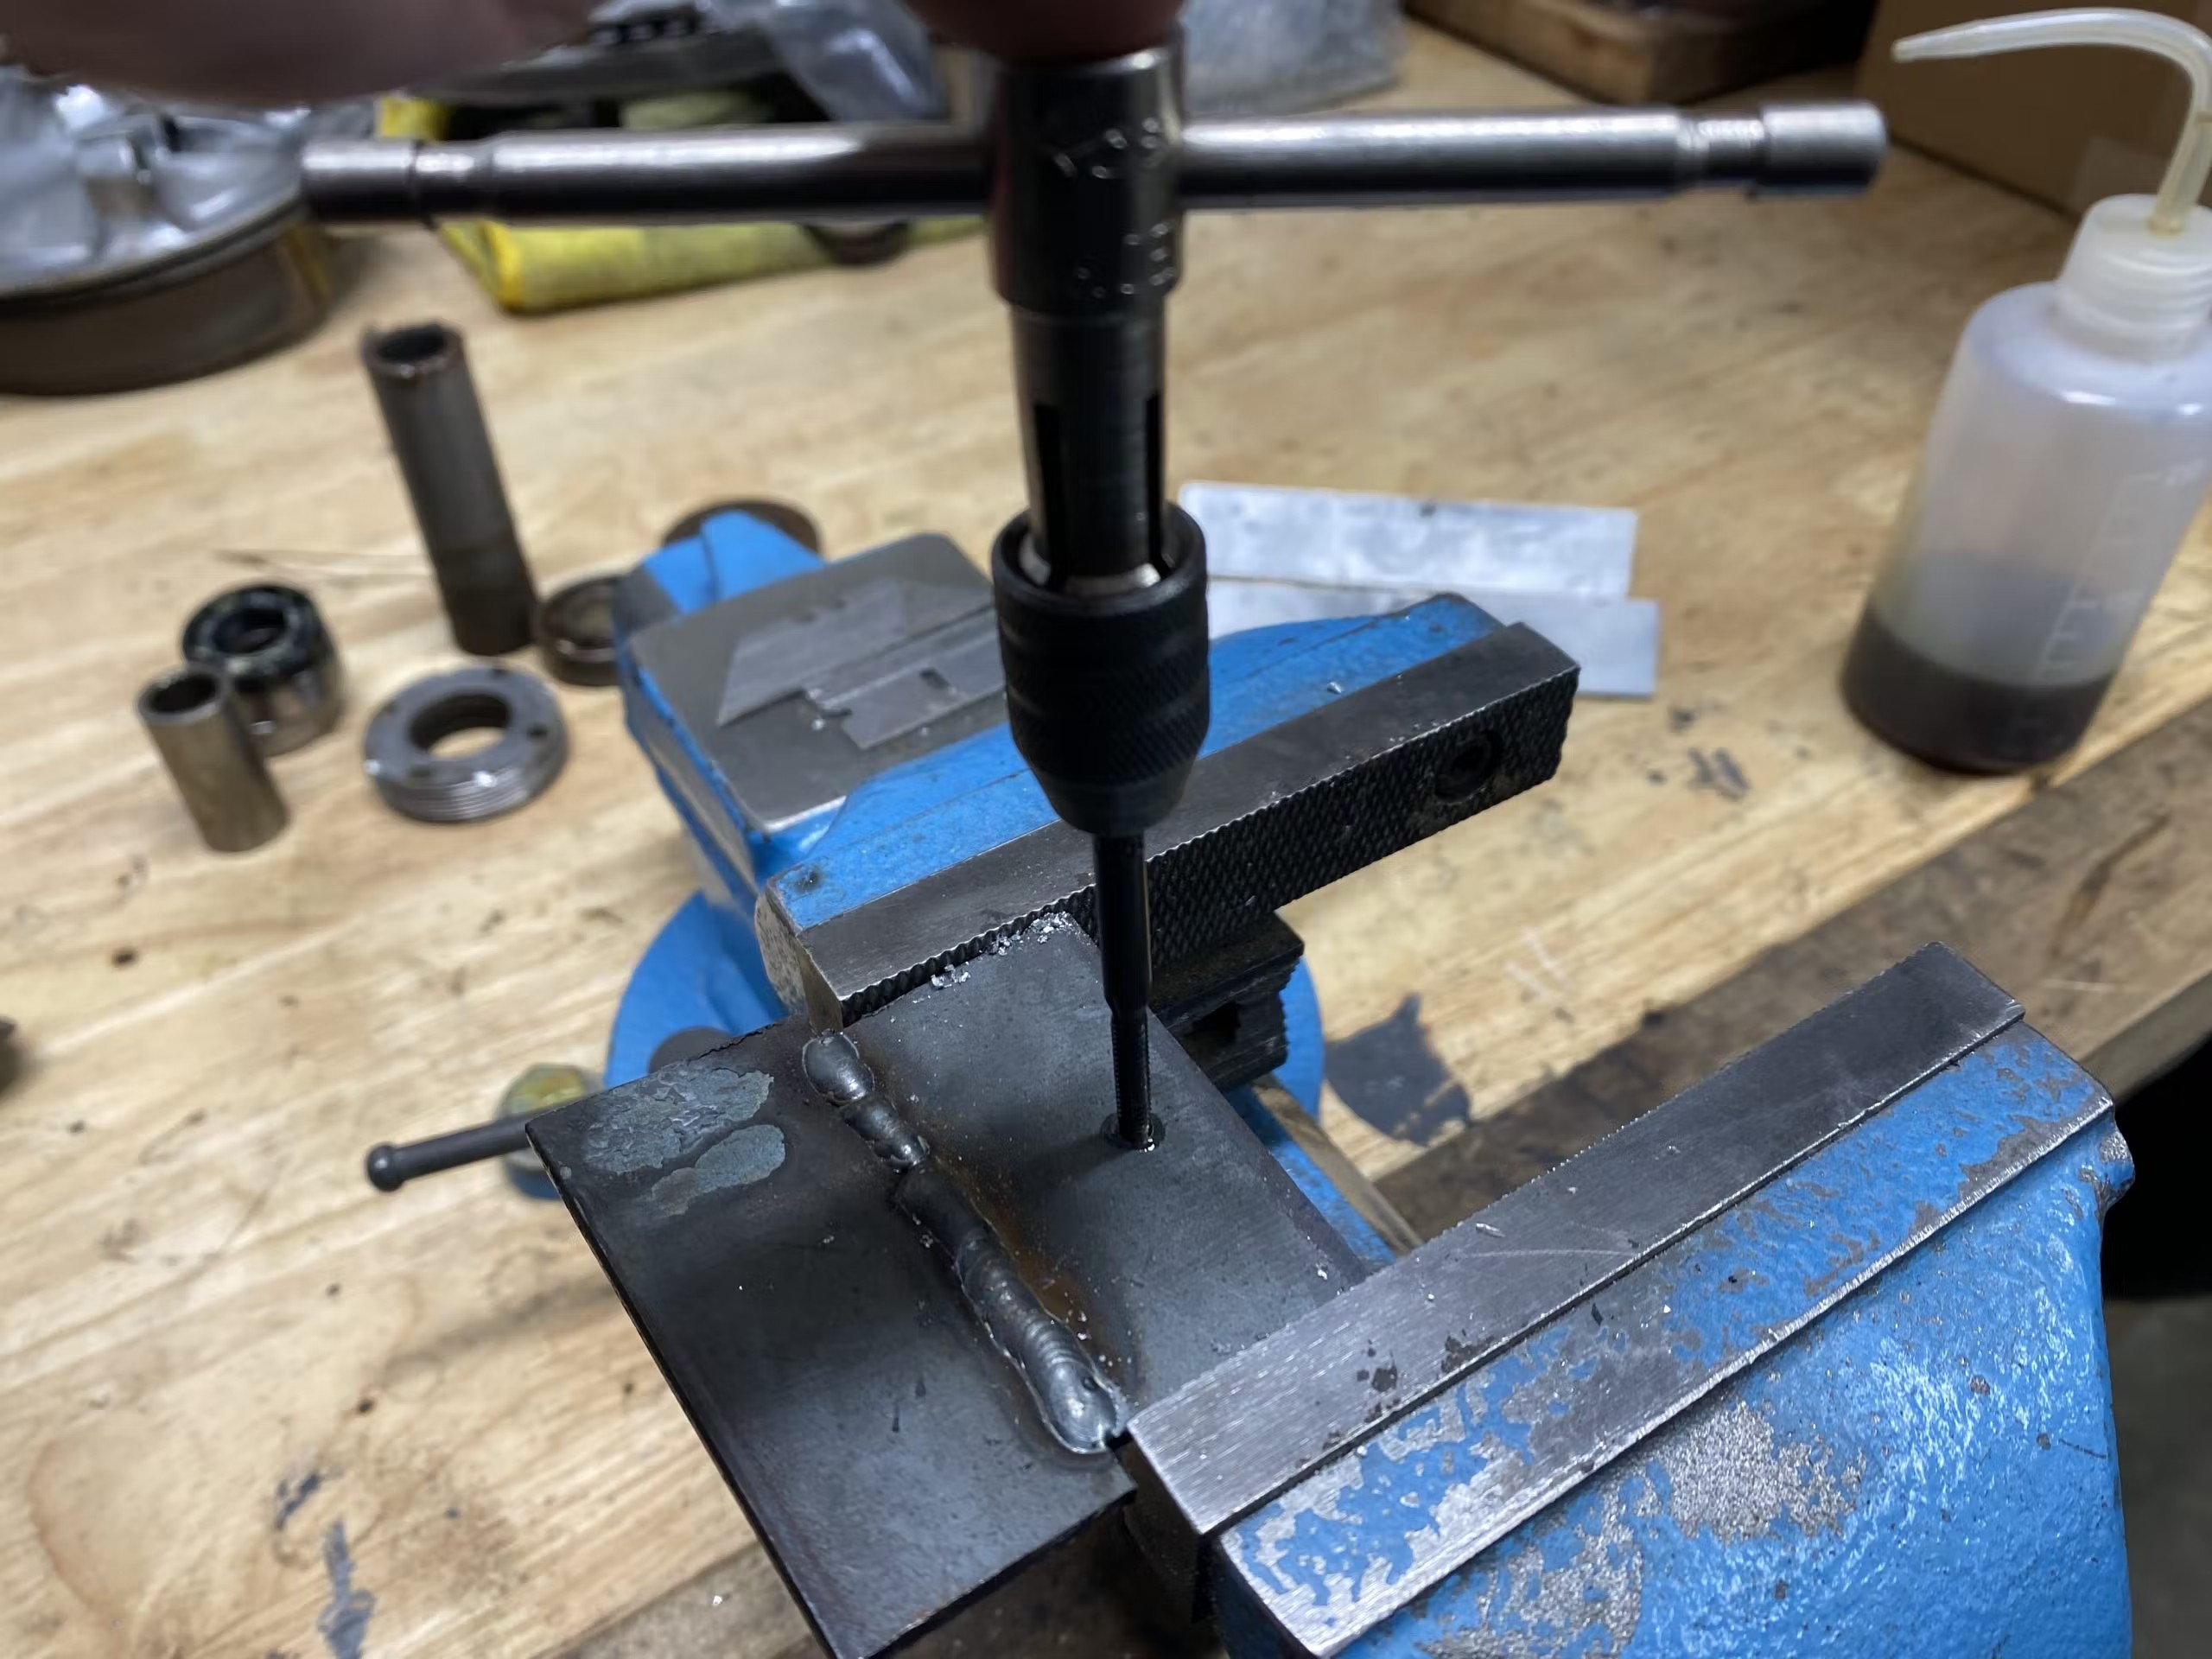
To tap a female thread, clamp the taper into the tap wrench and drip a few drops of oil on it. Then with the job held in a vice, put the tap in the hole making sure it’s square, grasp the wrench in both hands and gently start to cut the thread, turning clockwise for a normal right-hand thread. Cut in a few turns then unscrew half a turn to unclog the tap.
If tapping a blind hole, remove the tap from time-to-time and blow the swarf out of the hole. Keep adding plenty of cutting oil as you go, cut slowly and steadily and don’t be tempted to keep screwing the tap into the thread without backing off. The tap is brittle and can jam and snap in clumsy hands. Finish the thread using the second and plug if necessary, clean the hole, screw something into it, then sit back with a cuppa and a biscuit and feel pleased with yourself.

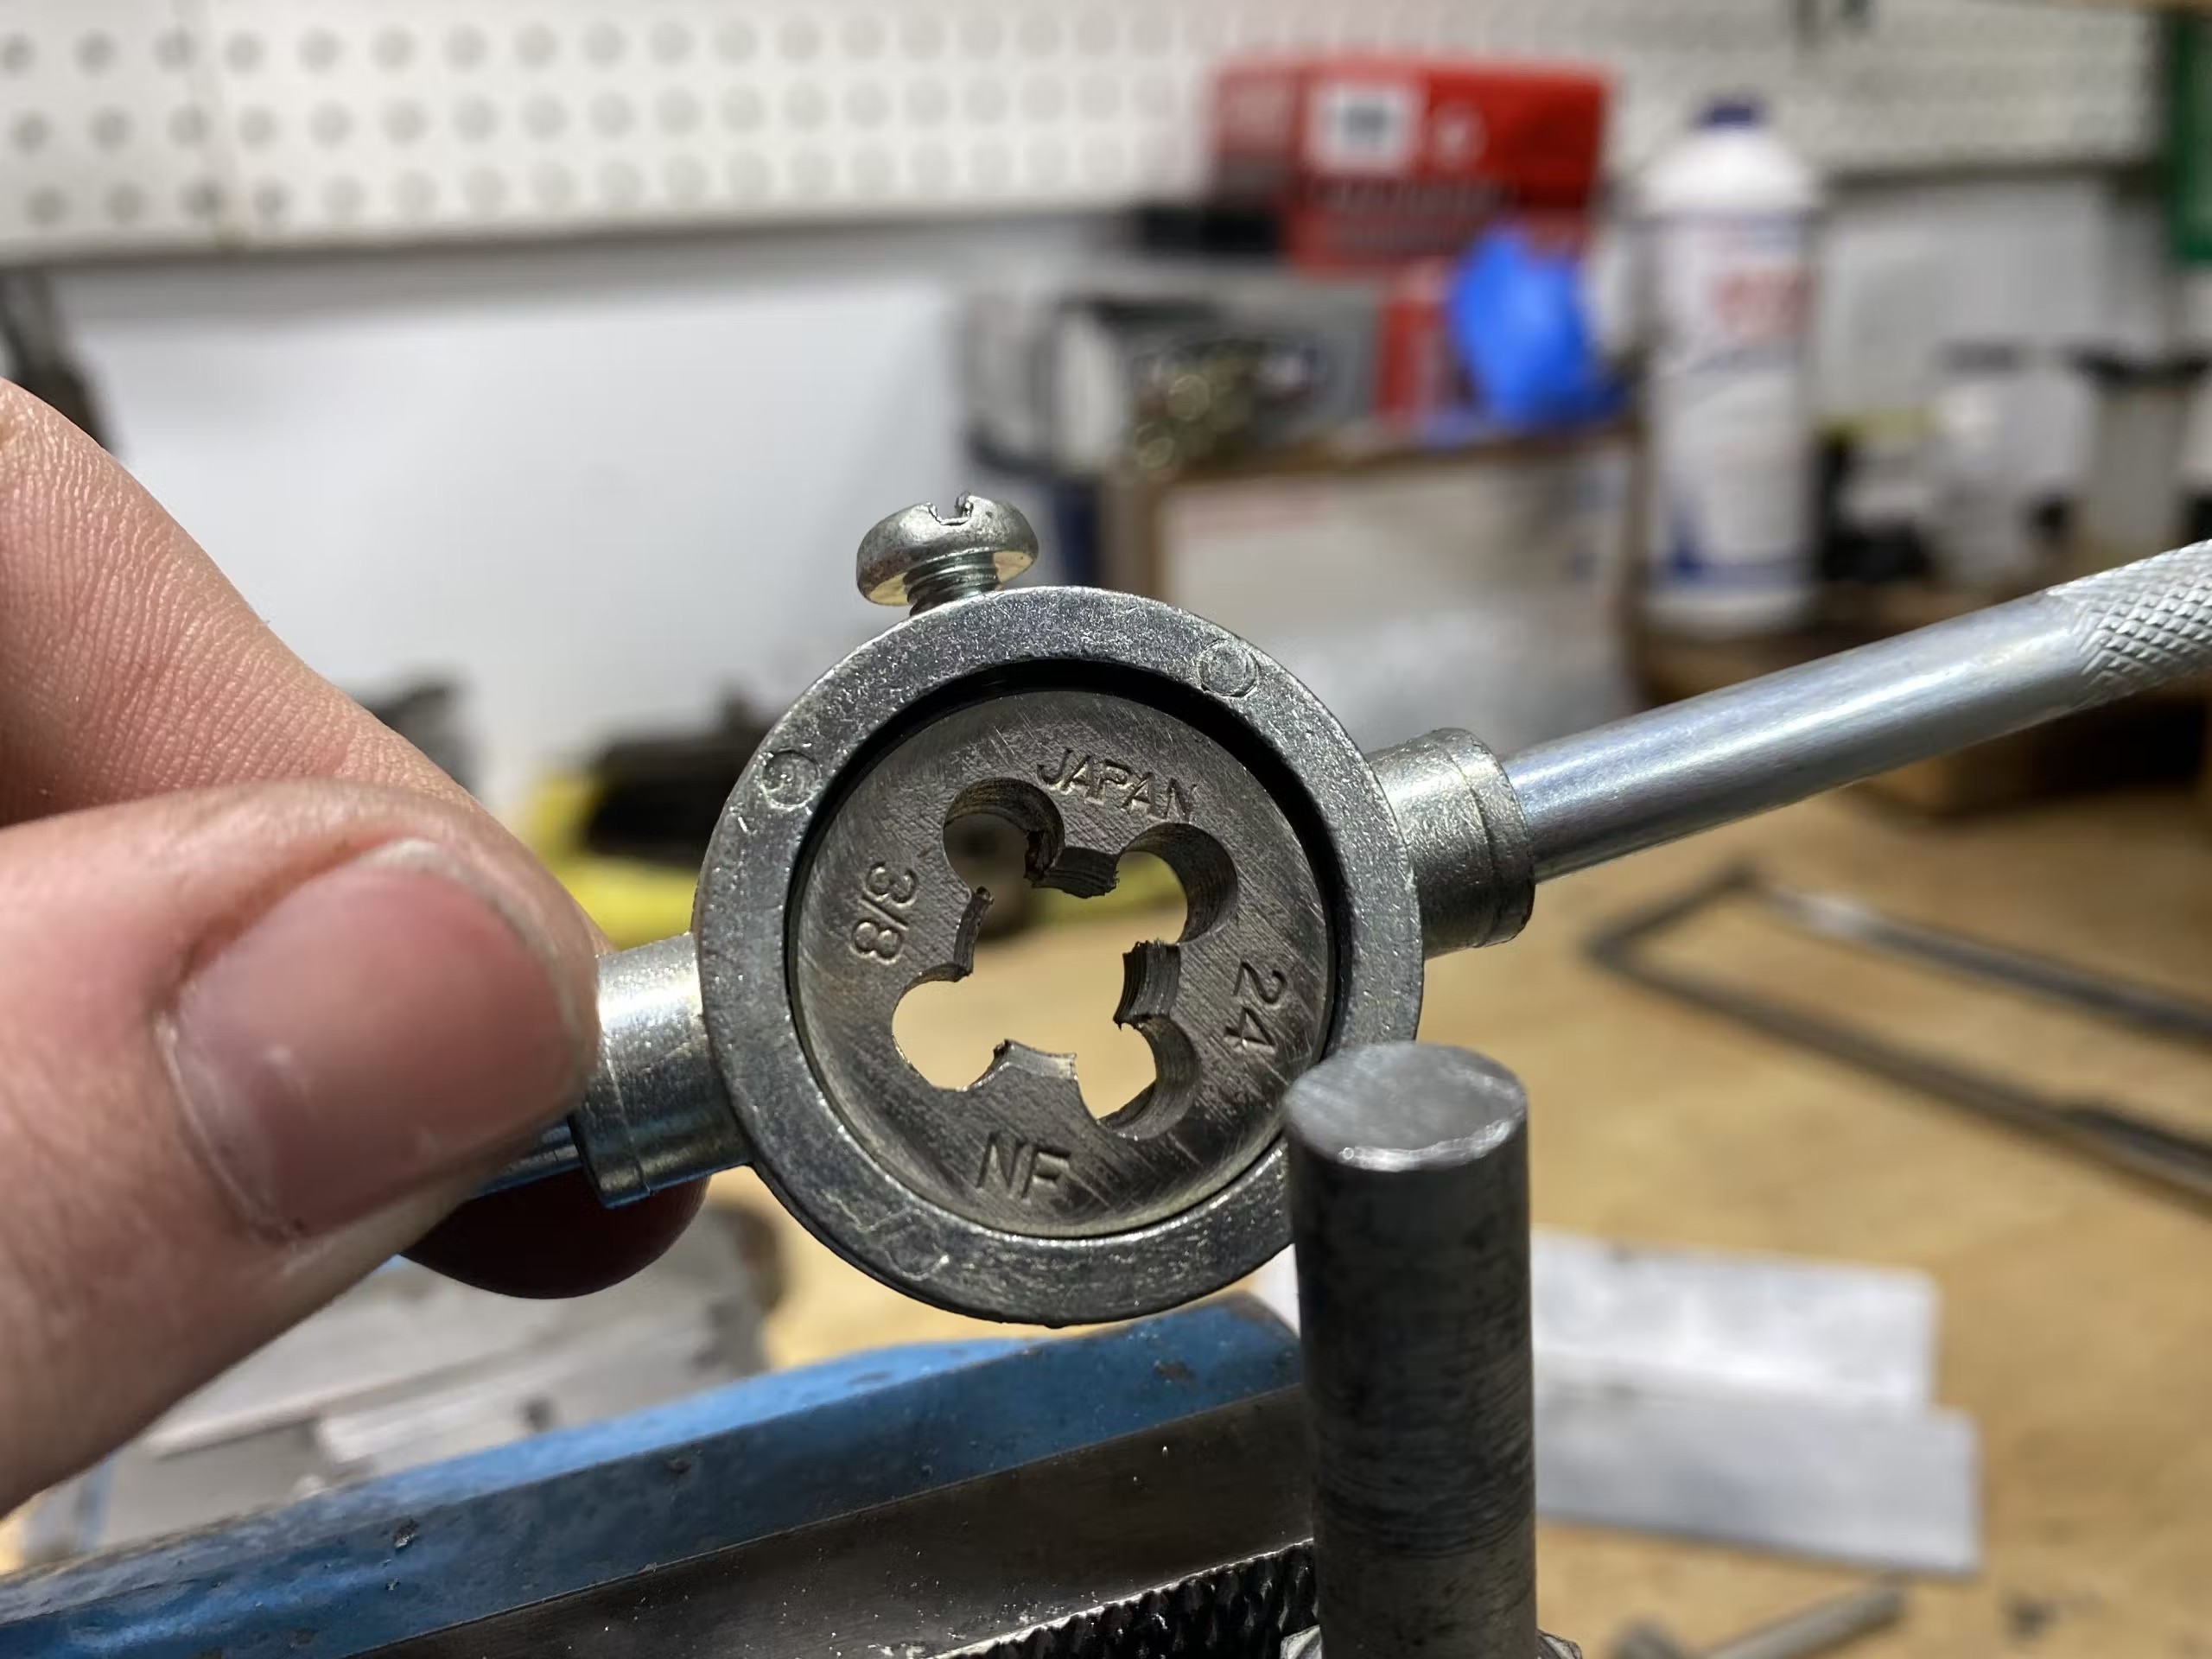
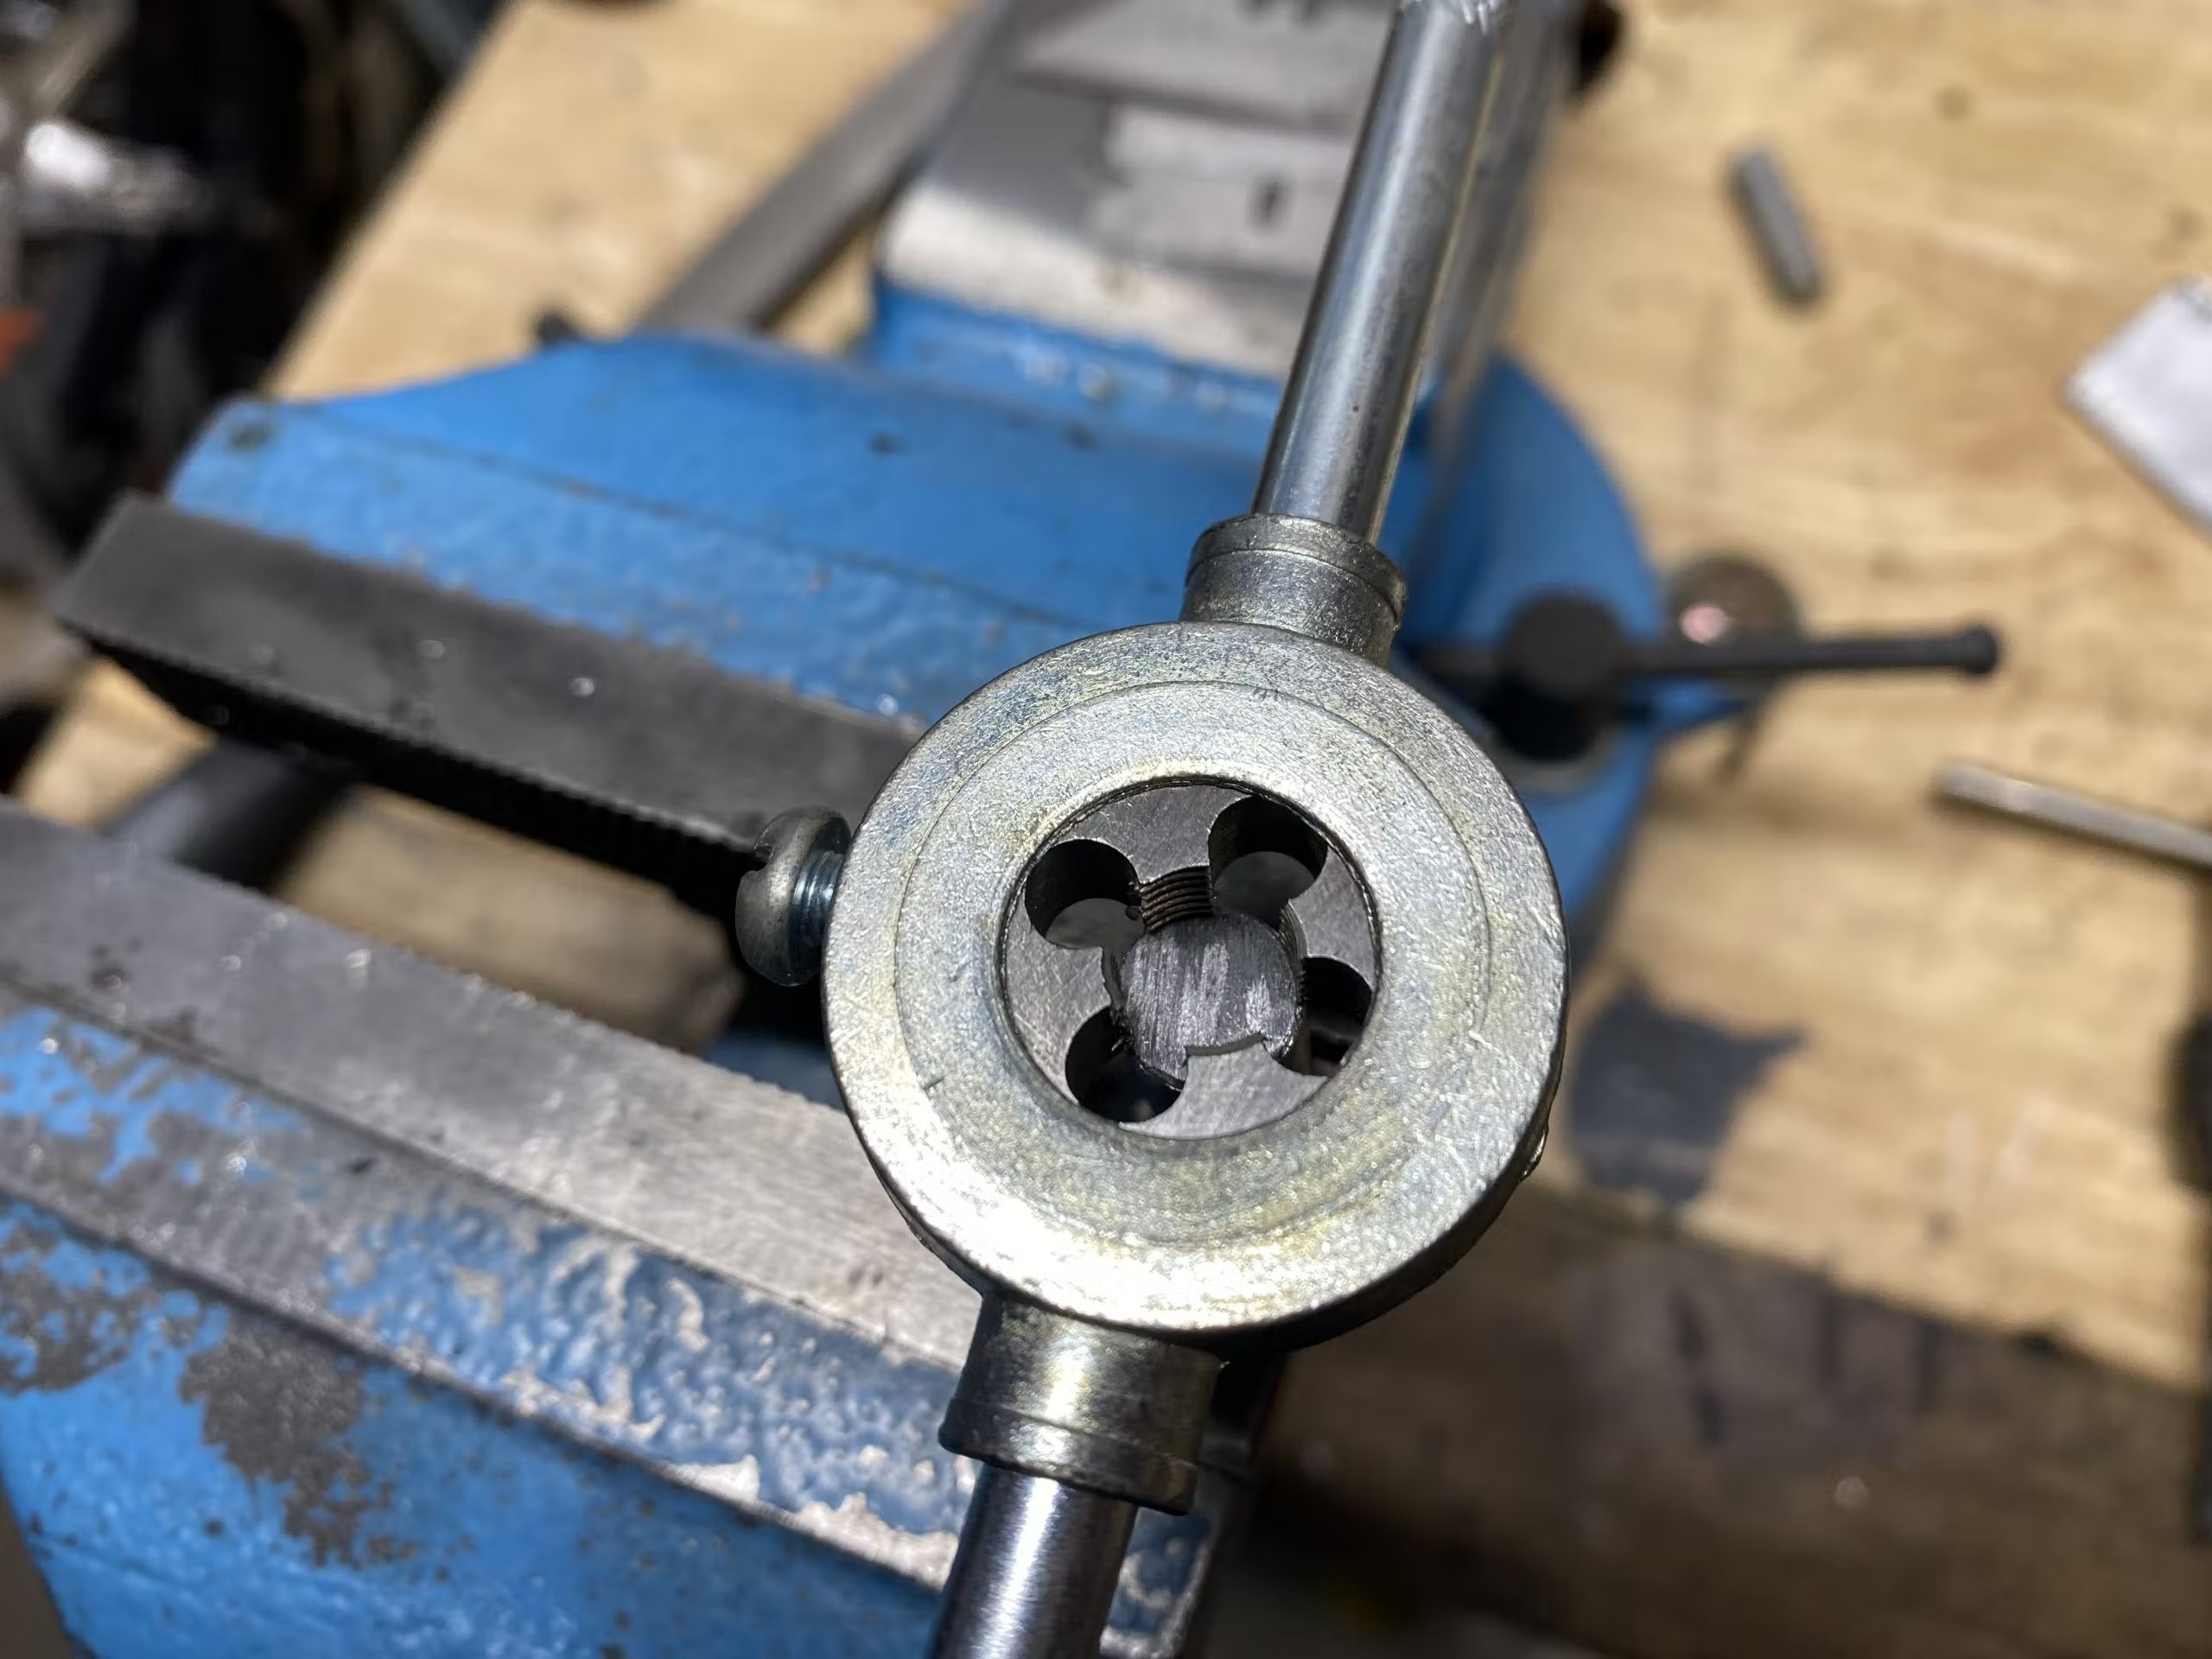
Cutting a male thread using a die is a little more tricky. Make sure the rod being threaded is cut off as square as possible, filed flat at 90° to the centreline of the rod, then lightly file a slight chamfer around the edge to help the die start. Mount the die in the die wrench and notice that the side without lettering has a slight taper to the threaded hole. This side should face the job with the lettering facing up.
Then very carefully, grasp the die wrench and applying pressure rotate it at the same time to start the cut. The slight flare on the opening of the die, combined with the equally slight chamfer you have filed, helps the die bite. Again, take a couple of turns then come back half a turn as you would with a tap and so on. Keep adding cutting oil and have fun with what is a deeply satisfying workshop job.
Read more
Why it’s important to clean and chase your threads | DIY – Hagerty Media
Everything you need to know about choosing and using a torque wrench
Choosing the right tyre and wheel size for your car