It’s surprising how many thorny problems, along with their fixes, vintage classic cars have in common with later cars, be they modern classics or a daily banger. Exhaust manifold studs are an example. Heat makes a big difference to the condition of a stud and there’s a good chance of one becoming seized in the cylinder head and shearing off if you lean too hard on the spanner.
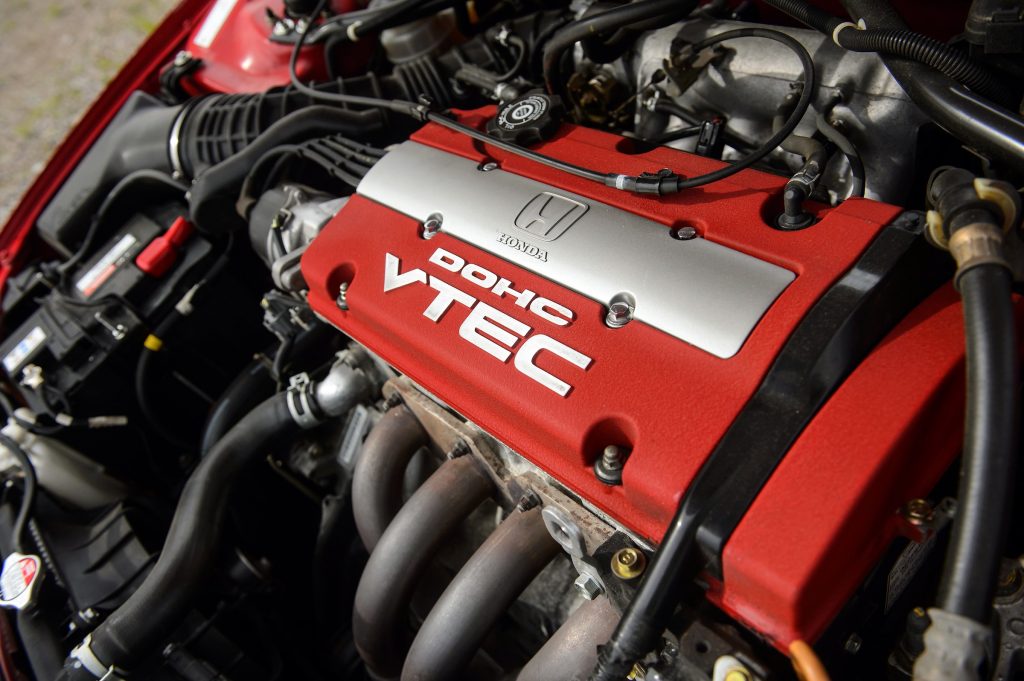
Alternatively, a steel nut on an exhaust stud may be so corroded as to have lost the sharp faces of its flats making it impossible to grip with a socket or ring spanner. This happened to me when removing the split and leaking fabricated factory exhaust manifold from an early BMW X5 3.0d to replace it with a cast iron version.

What I expected to be a straightforward job turned into a nightmare because of the many corroded nuts and studs on the six-cylinder engine. The problem wasn’t helped by the difficulty of accessing the job without a massive amount of dismantling.
If you find yourself with a similar problem, either on the engine or somewhere else, there are a number tools and techniques that can be brought to bear. The first thing is to take look at something I covered back in July 2021 on various ways to undo badly seized nuts and bolts. But assuming you’ve got that far and removed a set of nuts and the component they were retaining, how do you remove and replace a stud which is still firmly seated in its host?
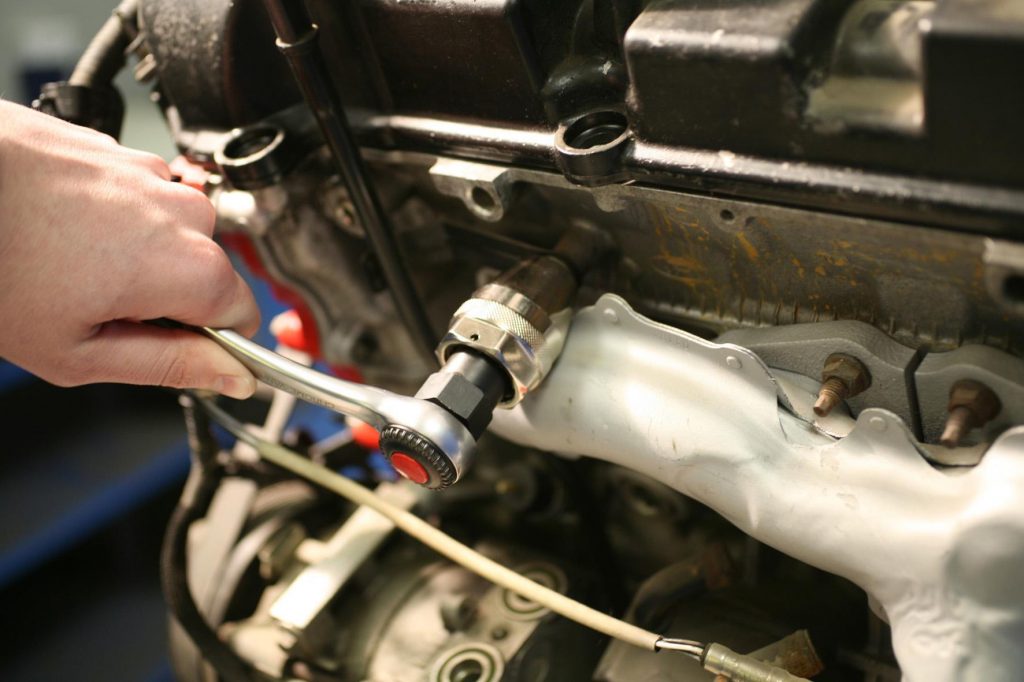
After more penetrating fluid, the simplest way to remove a stud which requires no special tools is by screwing two nuts onto it, one after the other and tightening them together. To do this, use two spanners, one on the lower nut and another on the upper nut. Use two ring spanners if possible, applying and undoing (anti-clockwise) force to the lower nut and a tightening torque (clockwise) to the upper nut. Try to finish tightening with the flats aligned to effectively create one giant nut but the main thing is that the two are good and tight.
Then, with a single ring spanner on the lower nut only, try and unscrew the stud and nuts as one piece. Once out you can discard the old stud and fit a new one using the same method in reverse and if you know the correct torque, do that part using a torque wrench and socket.
An alternative is to buy a set of stud extractors and since they are relatively inexpensive, they’re a good addition to the toolbox. There are various types but if you do use one you can assume the thread will be damaged by it and the stud will definitely need replacing. The most gentle sort are tubular in shape like a socket and grip the stud with small internal rollers as you apply force to the wrench. These come in sets, each tool designed to fit a certain sized stud. A more aggressive universal type fits a range of sizes and has a rotating jaw which grips the stud.
The first type is the best bet, but unless you can be sure it’s gripping only the blank centre section of the stud, I prefer the twin nut method for fitting the new replacement to avoid any marking of the threads.
Should a stud shear off, it is theoretically possible to drill into them then use the tapered removal tools with a left hand thread to try and remove the remains. The problem I’ve found with these is twofold though. If a stud was badly seized enough to shear off the likelihood is that the stump is likely to stay put.
The other is that, assuming it’s been possible to drill the stump centrally without damaging the surrounding female thread, the removal tools expand the now hollow stump as they tighten, making things worse. They are useful, but only for removing studs that have snapped for some reason other than a stubborn seizure.
Read more
Socket Set: Choosing spanners for DIY
Reviewed & Rated: Rust converters
Elbow Grease: Cleaning your car with minimal kit