
Jesse Crosse started as a motoring hack in 1982, was launch editor of Performance Car magazine and signed up an unheard writer called Jeremy Clarkson. He now writes about automotive technology, and spends his time restoring a pair of fast Fords, a 1968 GT390 Mustang fastback, and the same Ford Sierra Cosworth long-term test car he ran while editor of Performance Car. Here he shares tech tips for the have-a-go DIY car enthusiast.
A seized nut, bolt or stud. They can be one of the most frustrating, annoying, difficult and potentially damaging obstacles you can encounter when working on any car and especially an undisturbed classic. Seizures can be due to rust, galvanic corrosion or just a reluctance to move after years of not moving, or over-tightening.

An obstinate nut can lead to a double whammy if it’s threaded onto a stud the other end of which is screwed into a casting. Snapping off the stud by leaning too hard on the initial trouble maker can lead to even worse problems, especially if the stud shears off flush to the casting it’s screwed in to.
There are a few things you can do to avoid these horrors starting with the preventative approach. First of all, know what it is you’re looking at. If it’s a fixing underneath the car you can often see at a glance it’s worth resisting the temptation to dive straight in and attempt to loosen it. Give the nut or bolt head a clean with a wire brush so you can see what condition it’s in. Does it have nice crisp shoulders or are they rounded off through years of weathering and corrosion? If so, that means the spanner or socket you use will have a looser fit than it should have and may round off the nut or bolt making things worse.
Make sure the area around the base of the nut or bolt head is free of built-up dirt and rust, so a socket can be fully pushed home onto it for maximum purchase. Finally, give it a good soaking in a decent penetrating fluid like Plus Gas and leave it overnight. That means some planning ahead and anticipating the kind of problems you are likely to encounter before getting started. That in turn makes a quick inspection well before the time you might need the job done or the car back on the road, a wise move.
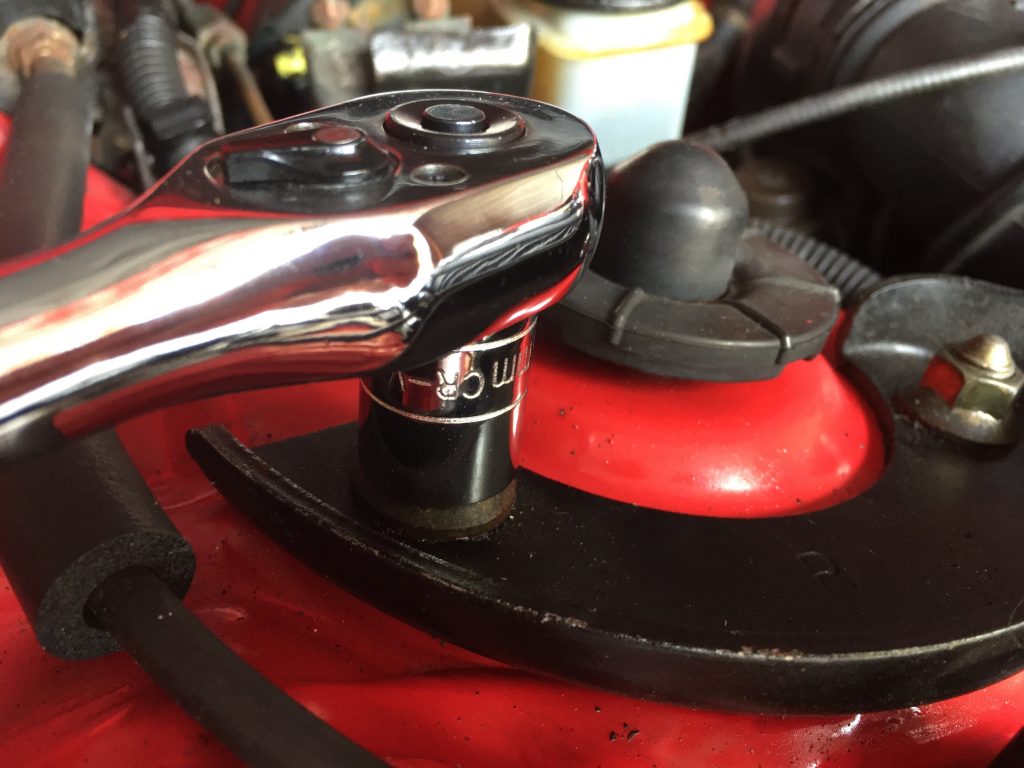
Once you’ve got the hang of it, assessing how to handle a stubborn fixing may only take seconds to think about and perhaps only minutes spent prepping for the Great Undoing. Assuming you’re ready to start, choose a tool. Wherever possible, always use a socket or ring spanner, especially if you anticipate something is going to be hard to shift. Avoid having a crack at a stuck bolt with an open-ended spanner, rounding it off and ending up with a bigger problem. Give yourself the best chance from the start.
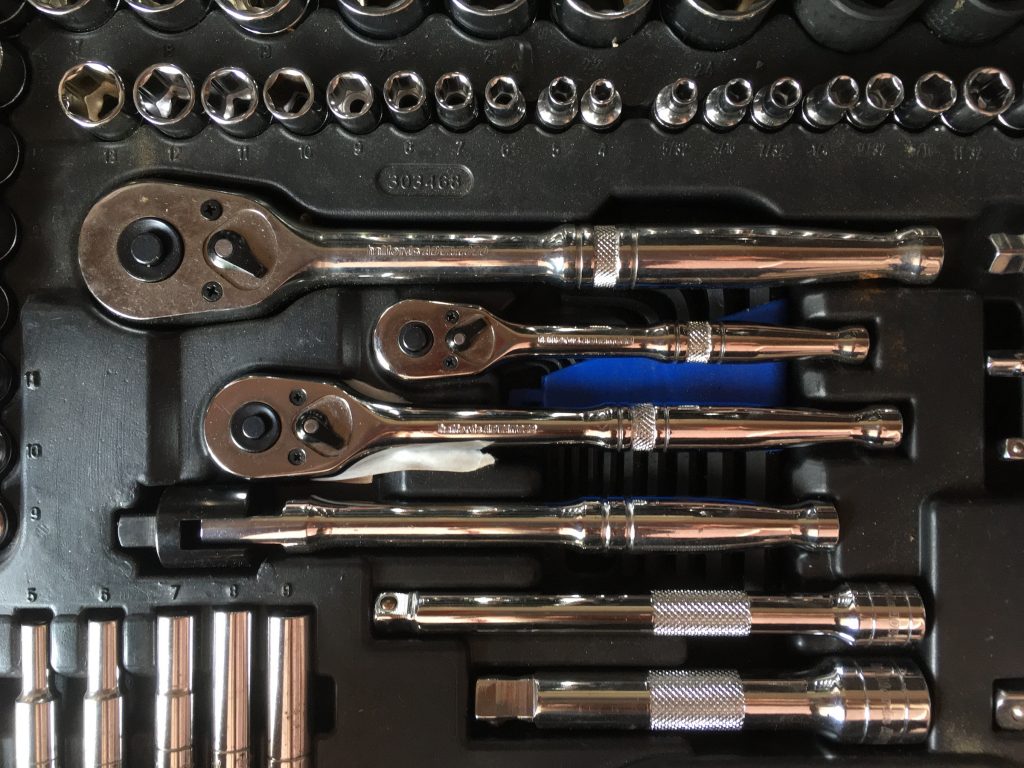
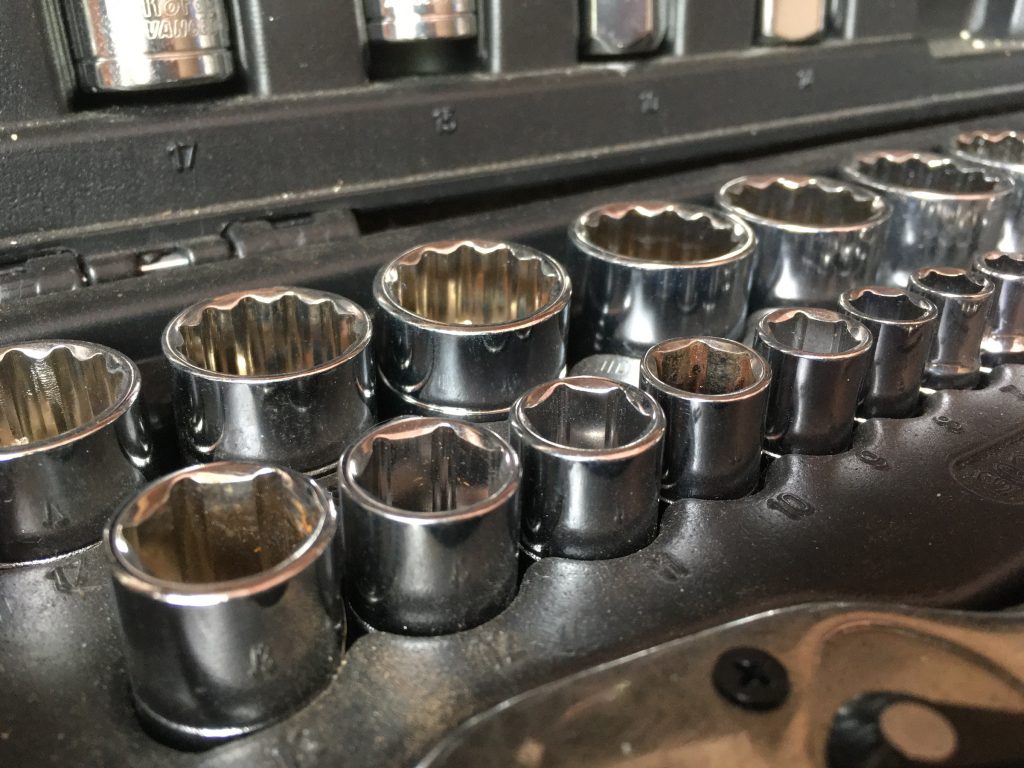
If using a socket, choose the right size ratchet wrench for the job. The most common sizes are 1/2-inch, 1/4-inch and titchy 3/8-inch and there are reasons for the differences. The smaller drives have smaller wrenches for tighter spaces but more important, they give far less leverage to reflect the lower torque needed to tighten and loosen smaller sizes. Be careful if using larger wrenches for seized nuts or bolts because the bolt or stud has a maximum shear strength and if that’s exceeded through seizure, it will shear off. Using smaller ratchet wrenches or spanners on smaller sizes lets you feel how much force you’re applying and avoid that happening.
Impact screwdrivers which sharply twist the bit a few degrees when whacked on top with a mallet are also very effective. On screws, they have the twofold effect of attempting to jerk the recalcitrant screw free and forcing the screwdriver bit into the head of the screw to get a better purchase. They often have a socket drive tip and come with a set of matching bits, but fitting a socket for nuts and bolts is also an option. On bigger sizes, an impact wrench (the sort of things used by tyre fitters) can work but be wary of wringing smaller size threads off.
What happens if you’ve done all of the above and it’s still not shifting? Try heat from a blowtorch, being mindful of what else you’re heating at the same time and avoiding paint damage, electrics or flammable liquids. A heat-resistant welding mat is useful for protecting surfaces adjacent to the job.
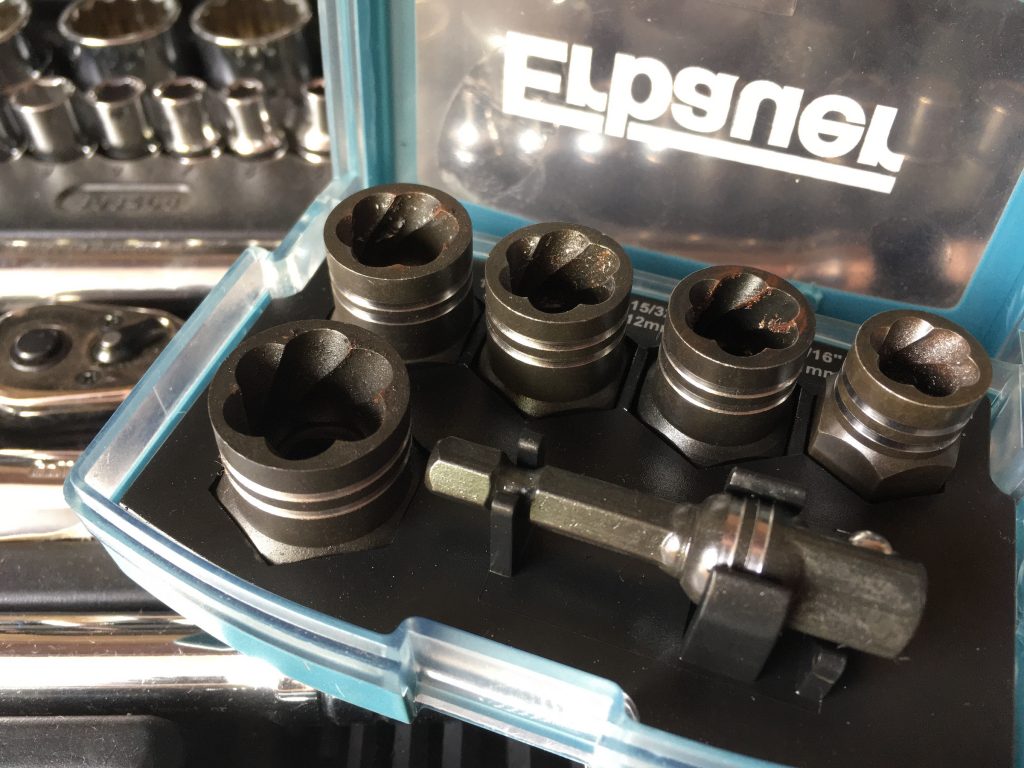
Otherwise, a nut-splitter which tightens a blade onto the nut is an option for nuts but obviously no good for bolt heads. For those, a good few taps on the top with a hammer and flat-tipped punch can help loosen bolt threads. Alternatively, using a 150mm angle grinder and thin, 1.6mm thick metal cutting disc to make a diagonal slash in one side of a nut, or a tap or two from a small, sharp cold chisel at a tangent to the nut can both do the trick. Whatever approach you take to shift something, it goes without saying that a fresh replacement will be needed afterwards for re-assembly.
There are probably other options not mentioned here too, and new tools appear every day to tackle specific jobs, so it’s worth doing some research online if you run into a specific problem. Last of all, talk to past masters you know. Figuring out different methods for dealing with problems is one of the reasons being hands-on with a car is such good fun. You never stop learning and there’s always someone who knows a trick you haven’t thought of.
Also read
Socket Set: Maintaining your car’s ignition system
Barn find hunting turns up gems, but also rust, rats, and shattered dreams
12 essential automotive chemicals for your garage | DIY


Extra tip after using releasing fluid etc. Once the bolt/nut moves a small amount, carefully work it back and forth small amounts gradually increasing each time. This prevents too great a torgue at once shearing the head off!
Attempting to tighten the bolt rather than undoing may get it moving
Yep, I agree with both of the above comments. I often give a recalcitrant nut/bolt a “tighten” . If you think about it, doing that breaks the link between the threads prior to the undoing process. For pro’s, there are electrically powered induction tongs that can apply heat to only the bolt head/nut. Very effective.