
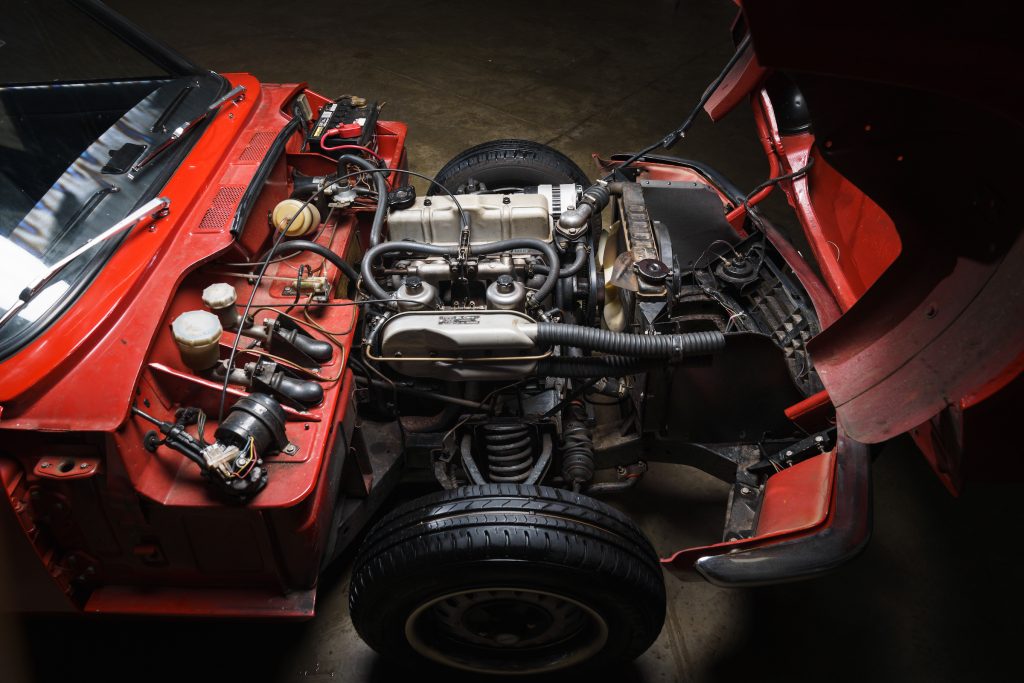
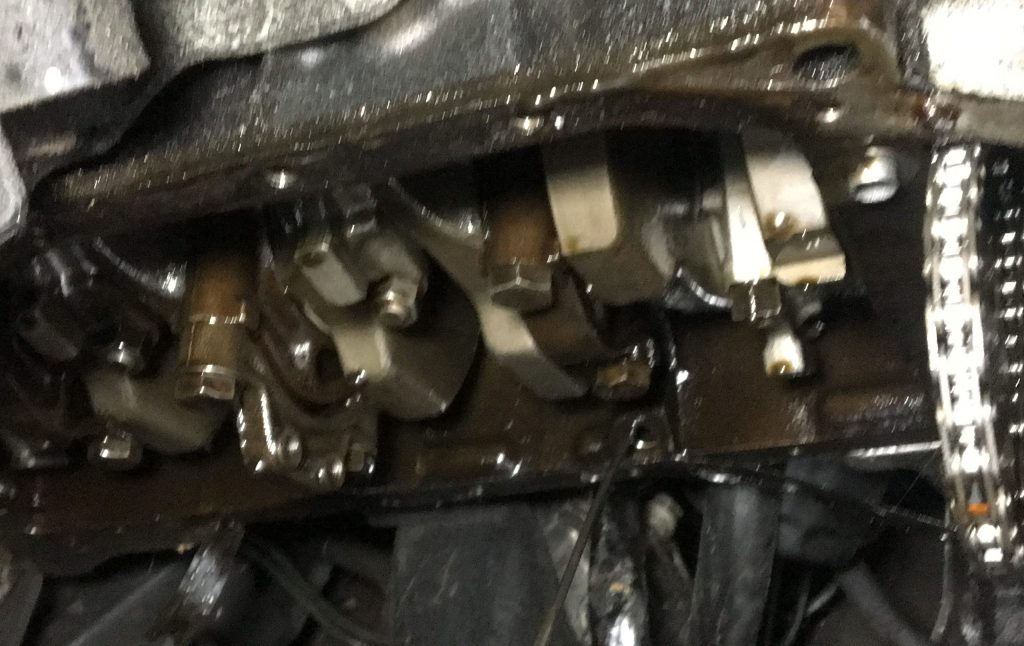
It’s a small job that somehow became a rite of passage for petrolheads: changing the oil The draining and refilling of oil is the first task that many budding spanner-turners undertake, and it’s certainly an important one.
Like most other tasks around car or motorcycle maintenance, there are some pieces of institutional knowledge that comprise the key dos and don’ts for a smooth oil change. So let’s put these lessons learned out in the open, with the mission of shortening the process for newbies. And perhaps to reinforce some best practices for you veteran mechanics?
Don’t go crazy with warming the oil
Modern oils are pretty amazing at suspending particles and contaminants, but there is still some junk that sinks down to the bottom of the pan. It needs to be stirred up to ensure it escapes when you pull the drain plug. Starting the engine and letting it idle for a minute or two is perfect for that final circulation. Run it any longer and you’re rewarded with nothing more than scalding hot oil that does nothing more than burn you.
Before you pull that (sump) plug, give the engine a minute after shutting down, allowing the oil to drain to the sump from the nooks and crannies higher in the engine. But before you get underneath the vehicle to do the deed, remember you must…
Wear disposable gloves
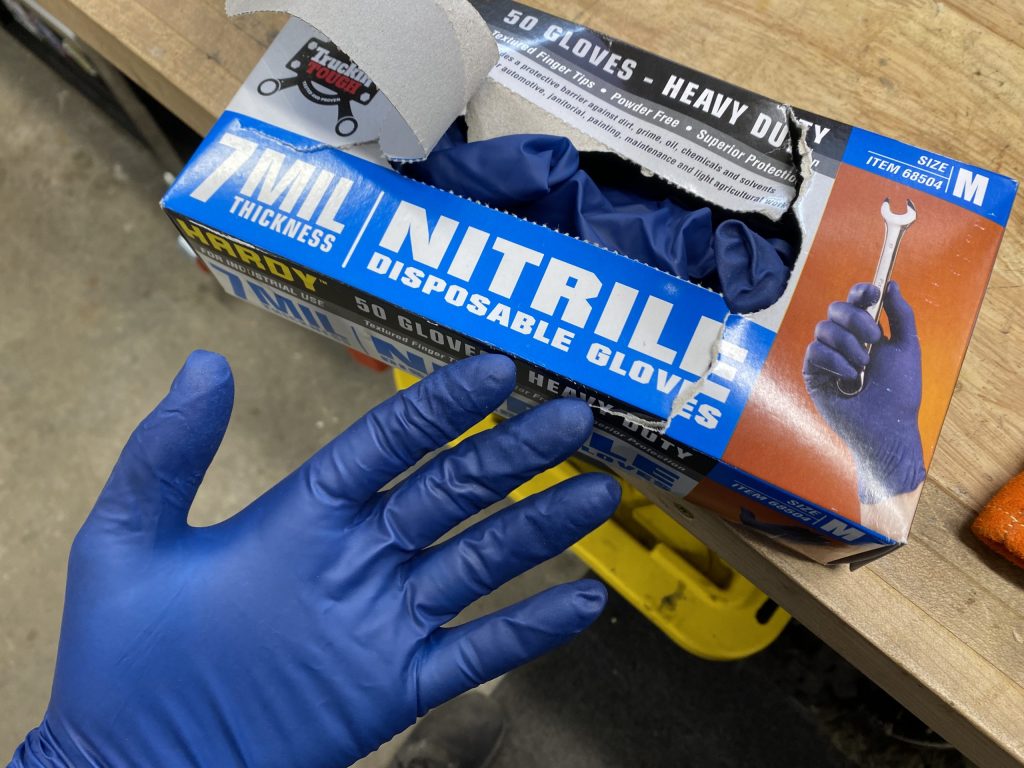
We all know the guy at the car parts counter who has seriously gnarly hands from all the years being soaked in oil over decades of engine builds. That’s the visible damage. The invisible damage is sitting in your internal organs.
All the hydrocarbons that get absorbed through the skin and are processed in our gut where they can’t be broken down. They end up accumulating in our body, which can cause serious health complications after years and years of chemical exposure. Preventing those issues is easy as putting on a pair of nitrile gloves. Use them even if it’s only for pulling the filter and sump plug, which you can do efficiently with…
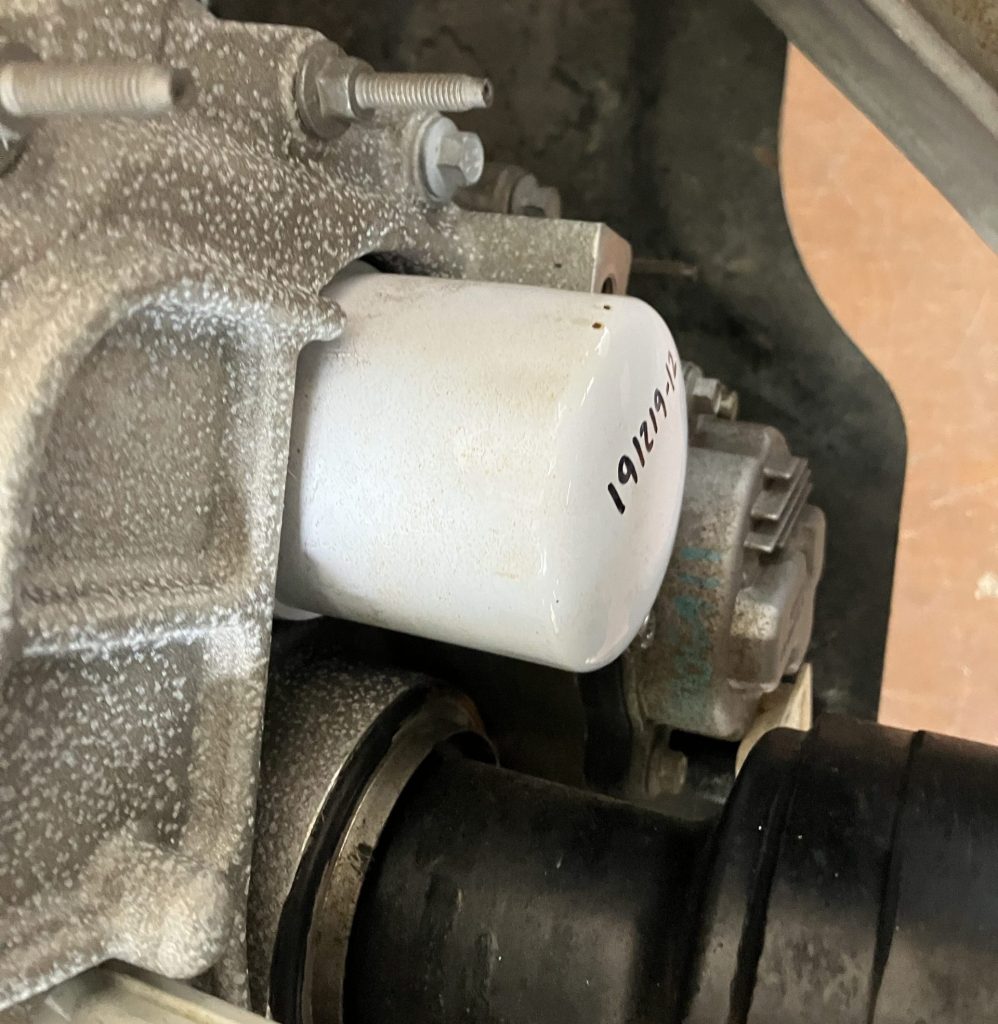
The sump plug trick

It’s not groundbreaking, but nothing feels better than the perfect pull on a sump plug to ensure you don’t get any oil on your hand. The trick is pressure, not pulling. As you unthread the plug by hand, push in against the bolt as it comes out – so the threads act as a seal with the outer edge.
With a little practice you can get the pressure right (while not rocking the plug in the threads) and can spin the plug a full turn to feel for the “click.” That click means the bolt overlapped the last thread. With a swift motion away from the direction of oil flow, remove that now-loose plug. Hey presto! This can make thin viscosity oil changes much cleaner, and thick stuff like 20-50 can sometimes be spotless. In your excitement of not having a mess to clean up after draining, make sure you…
Don’t over-tighten the sump plug or filter
It’s come to the point where stuck filters and stripped sump plugs are no longer a joke. Neither the filter nor plug require any real torque when installed properly. Use a small amount of oil to lube the filter’s rubber seal, then spin it into place. After the gasket seats on the housing, turn it only about three-quarter of an additional turn.
Some applications might call for a full turn, but that is usually reserved for heavy duty equipment. Any tighter than what the filter manufacturers call for and you run the risk of deforming that rubber seal, which could cause oil to leak past the seal. That’s bad news. Any oil spillage is bad, so when you are filling…
Just use a funnel
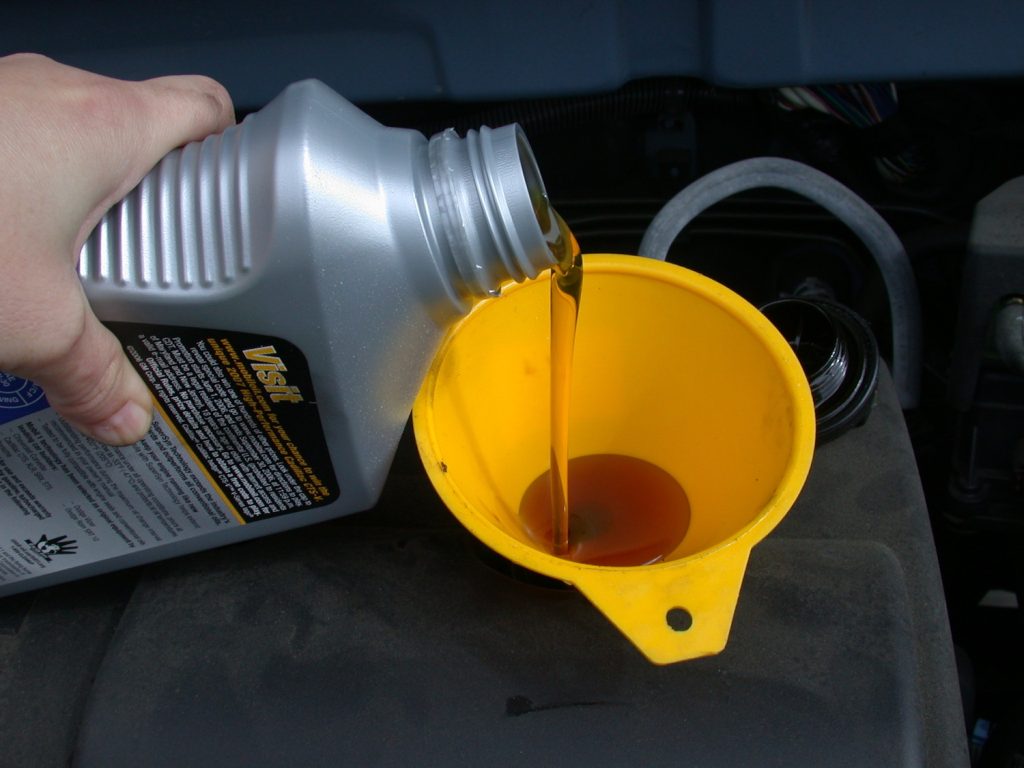
The oil fill aperture on most engines appears to be in that perfect spot where you could pour directly into it, but don’t be fooled. They may seem to be ideally located, but cleaning up if you miss (by even the smallest margin) can be a major pain. Are we really going to work so hard to spot and address leaks, to keep our engines clean, and just ruin it while doing routine maintenance?
I’m not. A funnel all but guarantees I won’t have to do any clean up after filling, even if I’m distracted or letting my 7 year-old niece do the filling. Putting in that fresh oil feels good, but be careful and…
Don’t overfill
Too much oil is just as bad as not enough. Seriously. The oil level in a wet-sump engine is carefully calculated to keep the rotating assembly from whipping through the oil. That action causes foaming, and oil foam pushed through the oiling system is the same as not having oil at all.
I don’t need to tell you how bad that can be, so check the service or owners manual for the proper fill level. When done, look at the dipstick as a double check. Luckily, the empty oil containers you now have at this point are are perfect to…
Recycle your used oil
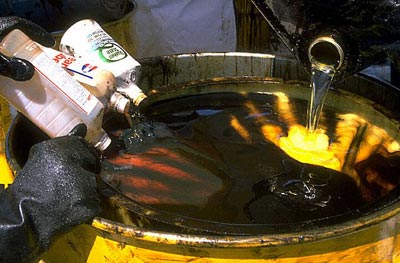
It’s never been easier to properly recycle used oil, so there is no excuse to do otherwise. You can check for places that’ll take your old oil with online tools like this, so they should be your first trip in your freshly serviced vehicle to “return” your oil.
Be sure to capture oil in a non-contaminated pan so that the oil can actually be recycled. Coolant is the main enemy here, so remember to clean the drain pan before the oil change. Luckily you don’t have to worry about how dusty or dirty the pan is, but other fluids can defeat the purpose of recycling. But before you make the trip to recycle the oil, be sure to…
Reset the computer (or note your service date)

Modern cars have an oil life monitoring system. Whether you trust it is a personal preference, but for the sake of eliminating confusion, go ahead and reset it now. Most reset procedures involve cycling the ignition key and pressing the throttle pedal a certain number of times. The service manual will outline it, or a quick search using online make/model specific forum will have the instructions.
If your vehicles are of the manual variety, write down the oil change date in a log book. Or use the original service book kept supplied with the vehicle, as it keeps you from forgetting what’s been done. Not to mention a paper trail shows good stewardship to a potential next owner, which can mean an easier sale for more money.
In all, oil changes can be simple and rewarding for newbies and DIY enthusiasts alike. Following these best practices will not only keep your vehicle happy, but also make the experience better for you each time. Do you have something specific you add to this process? Let us know about it in the comments below.
Via Hagerty US.
Read more
Everything you need to know about oil for your classic car
Socket Set: How to change engine oil
5 garage projects that look simple… but aren’t


You’ve forgotten to mention “Use The Correct Oil For Your Car” ! Especially important information for newbies. It may seem “cool” to buy some fancy, thinner, synthetic oil with an in vogue name to “treat” your classic, but itsxanbexpensive, unnecessary folly. Engines from back in the day have very different needs to suit their manufacturing tolerances, than those of modern cars. Indeed, the additives in modern oils, will be vastly different in most cases to the oil that your 1960s technology power plant NEEDS. Look in any owners or workshop manual that you have for your classic and note the spec required, or talk to established Club members for advice. Mobil 1 0W-40 may be tempting, but Millers Classic 20W-50 will be cheaper and SUPERIOR for your ’72 Hillman Imp !
I pour the oil into an old measuring jug,then use a funnel. Easy to get the right amount of oil,and no mess. My wife has no idea where her jug went !
Don’t think it’s quite as simple as Mr. Gill suggests. Many classic car engines are 50 or 60+ years old and if your engine has been rebuilt, it’s less likely that it has been rebuilt using 50 year old components. New pistons, rings, con rods and bearing shells etc., are likely to be of more modern materials capable of accommodating new synthetic oils and their additives. Oil technology has moved on a lot in the intervening period and older car engines are now able to withstand the newer lubricants. It’s always worthwhile checking with other owners or one make car clubs to see what the latest views are on the use of modern oils in the particular classic.
Your classic car likely has a flat tappet camshaft, which needs ZDDP to avoid self-destruction.
ZDDP is not found in modern oils as it is bad for catalytic convertors, one of many pieces of superfluous junk that clutter modern cars, but not classics.
Stick to to a 20/50 such as Lucas Classic & Hotrod which has 2100ppm of zinc, then you will not wreck your classic engine.
Forget modern oils.
Do not forget to have a new sump plug washer fitted, as it is a real pain to sort it after putting in fresh oil