A stripped thread is one of the most annoying things that can happen in the workshop, especially if it’s through being careless or in too much of a hurry to get things done. One way of doing it is by over-tightening or cross-threading but sometimes, as we all know, it can just be through wear and tear of the material the thread’s in – especially if that material is cast aluminium alloy which has seen some life.
While the male thread is usually easy enough to replace, a female thread in the body of something important like a crankcase or cylinder head can be a real problem. In the worst case scenarios, welding and re-machining can be the last resort but in most cases, using an insert will make a good strong repair that, if done carefully, will last a long time.

The simplest of these and maybe most well known, is the HeliCoil insert which looks like a spring but once installed creates a new thread within a thread. The concept is simple enough. Imagine a male thread on a screw or bolt is like a spring wrapped around a smooth bar and a female thread, a spring inserted into a smooth bore. When a thread gets stripped, it’s as if that spring is being removed and in some cases, that’s exactly what it looks like. It’s not uncommon for a stud to pull out of an alloy casting with the aluminium thread still fitting neatly and yes, a little annoyingly, into its spiral grooves, just like a spring.
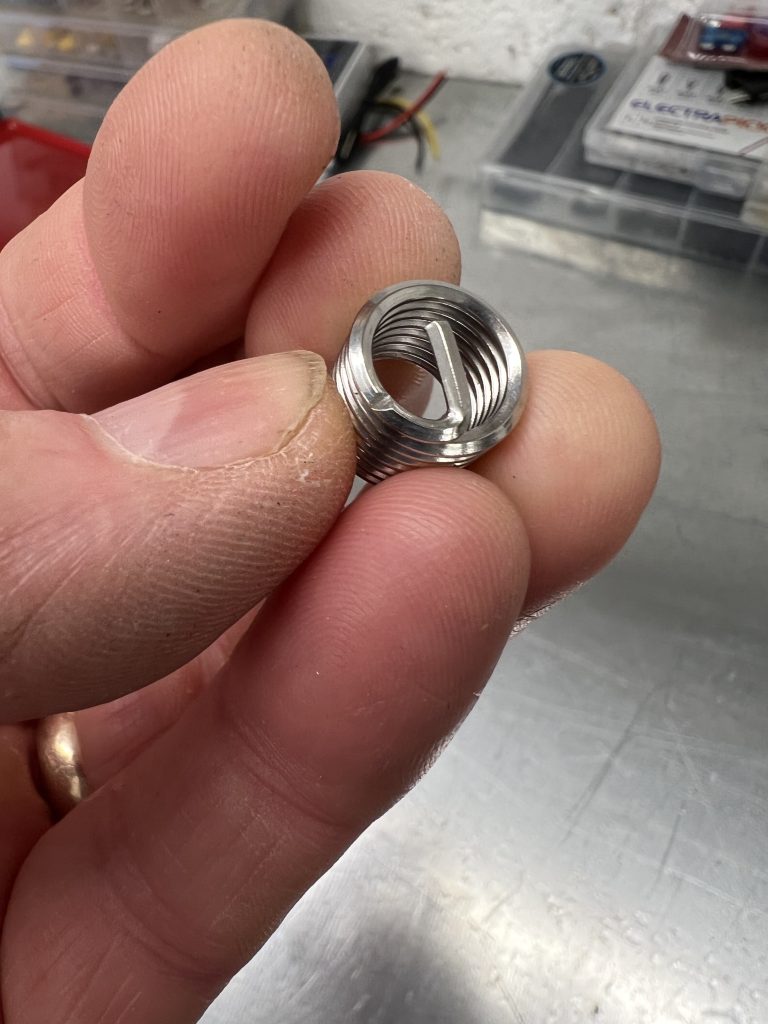
In reality, a thread is part of the material its cut on to, or in to, but the spring analogy explains pretty much how a HeliCoil insert can be used to repair a female thread, only in reverse. It works like this. The bore of the damaged thread is drilled out, tapped oversize and the spring-like HeliCoil insert, screwed into it. Actually, the cross-section of the insert is like a back-to-back thread profile, the outer side screwing into the oversize thread that’s just been created and the inner side creating the new thread, a facsimile of the original.
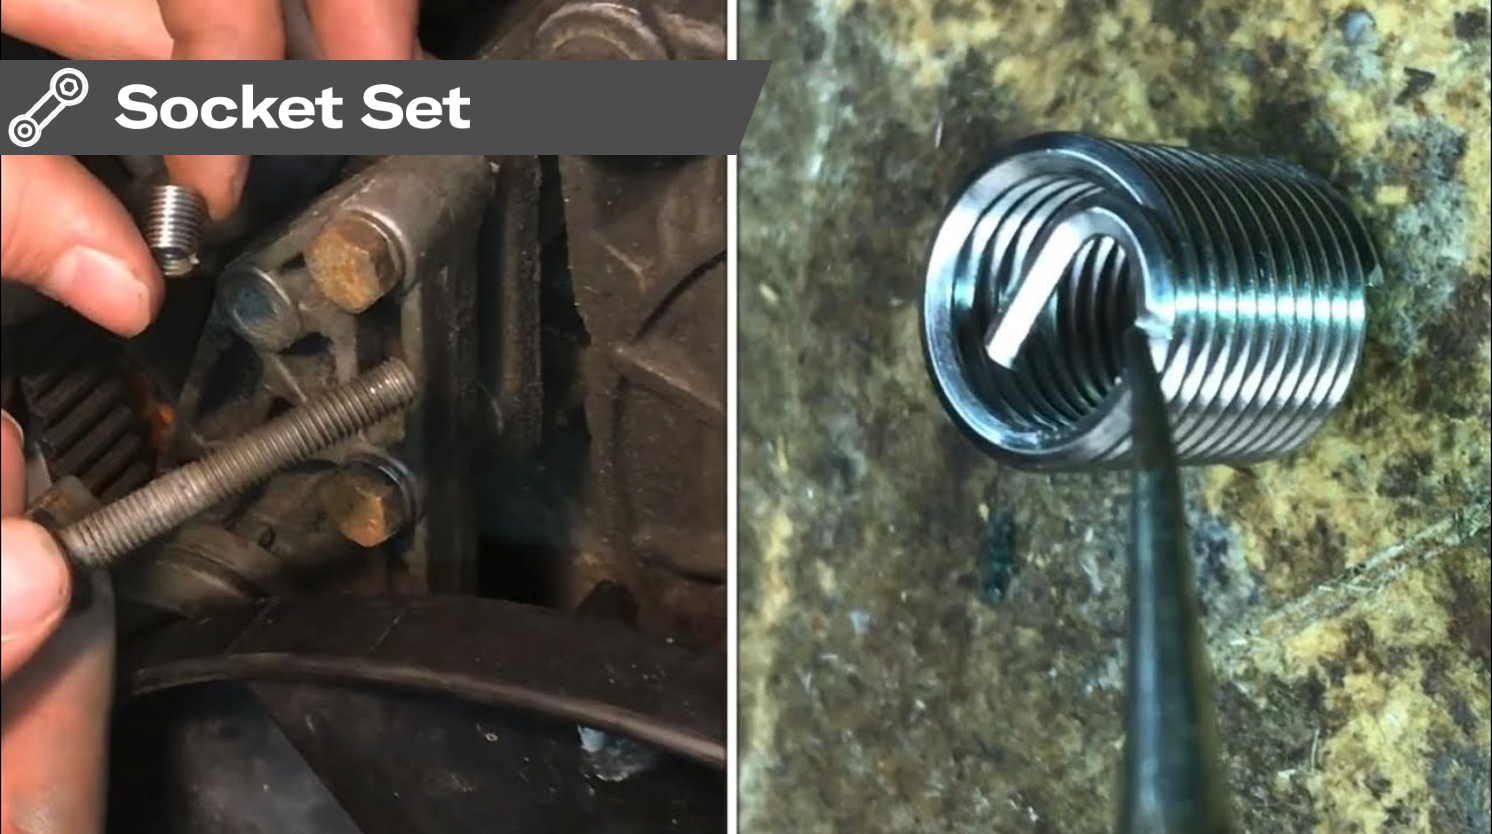
HeliCoils come in kits so for a damaged M10 thread for example, the kit will come with the correct size drill and tap for creating that oversize thread in which the HeliCoil will sit. The kit will also have an insertion tool onto which the insert fits prior to inserting it. The tail of the insert is bent at 90 degrees across the bottom of it forming the “tang” which fits snugly into a slot in the end of the insertion tool.
The HeliCoil is simply screwed in using the tool and a tap wrench, then the tool unscrewed. That leaves the tang across the bottom of the insert which is removed by giving it a sharp tap with a punch. The tang has a small nick in it and because the thread is a hard material, it snaps off easily. The fragment can be blown out if necessary with an airline, or if it’s out of harms way at the bottom of the hole say, can be ignored.
If done correctly, a HeliCoil is a strong repair and the only real thing to be careful of is that the fresh hole which takes the insert is drilled clean and square. That doesn’t mean to say it can’t be a hand-held job as long as it’s done carefully. The first time I ever did it was to replace a couple of sump bolt threads in an MG TC engine which was still in the car. The threads were in poor shape through old age and, probably, not the greatest quality post-war casting. Fixings on XPAG engines are a weird concoction of metric fine with BSF heads. However from memory, the bolts in question were 1.0mm metric fine and getting HeliCoil kits for them was no problem. I’ve done something similar recently and with equal success on the chassis of my Ford Sierra RS Cosworth and I’ll cover that in the next column.
Check out the Hagerty Media homepage for daily news, features, interviews, DIY and buying guides, or better still, bookmark it.