
As the winter nights draw in and our classic cars are taken off the road for hibernation it’s the perfect time to learn a new skill. Humans have been sticking metal together for thousands of years (Egyptian wall art certainly depicted brazing) but in the middle of the last century, around 1949, some bright sparks invented TIG and MIG welding, which stand for Tungsten Inert Gas and Metal Inert Gas. I’m often asked which I prefer but it really depends on the application.
They both involve applying heat, generated by an electric arc, to the bits of metal you want to join together so that their edges melt together in a shared pool of molten metal. Once that cools down you end up with a really strong joint because those two parts have become one, but if you’re just beginning to learn how to weld, and the repairs you need to do are a bit rough and ready, MIG welding is the one to try. If you mess up, you can grind it back and start all over again and it is potentially less dangerous than gas welding.So start as you mean to go on and play it safe, taking things one step at a time and proceeding with caution.
The basics
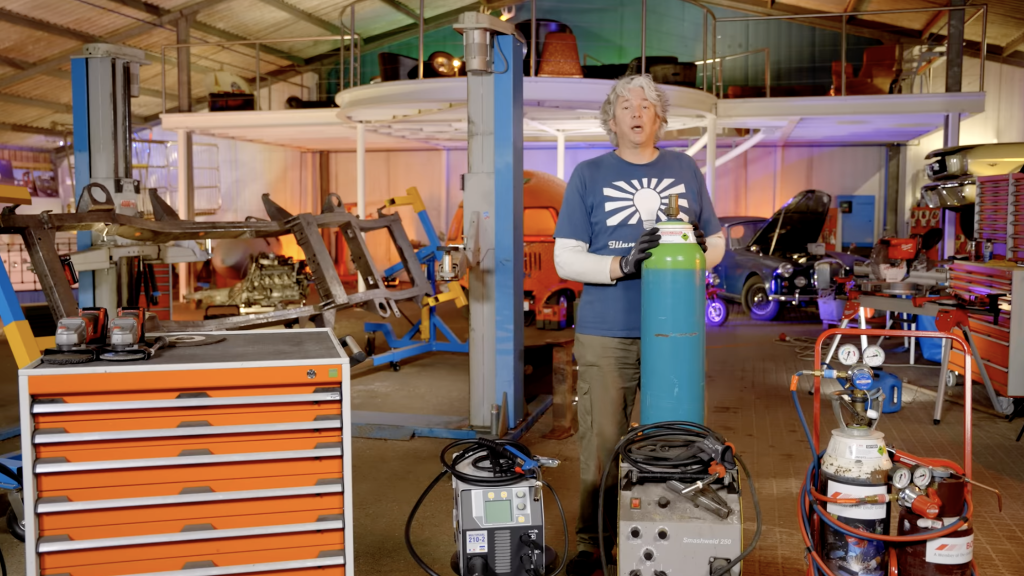
The key pieces of kit you will need are the MIG/MAG welder itself, which can often be used with or without gas, and powered by single or three phase supply of electricity, and generate a spark using a transformer or and inverter, then you need to choose your wire, flux cored (for gasless) or solid wire with a bottle of inert gas.
The coil of wire, which is most commonly available as a 1kg, 5kg or 15kg reel, is automatically fed through the torch of the MIG/MAG welder and is melted into the weld by the heat of the electric arc.
For first-timers, I would recommend something like this, but if you want to go for something a bit more sporty then a synergic GYS inverter welder like this is worth considering because after giving it some basic information – the diameter of the wire and thickness of the material and the type of join – it will work out the wire speed and the current that you need to actually make a really lovely weld.
A MIG/MAG welder uses either a transformer (traditional) or an inverter (modern) to create the electric arc by converting your mains electricity to a lower voltage, but a much higher-powered current. That current provides the energy to melt the wire that’s being fed through the torch as well as the metal you’re welding together, and the resulting pool of mixed molten metals is what creates a lovely strong weld.
Protective gear is a priority
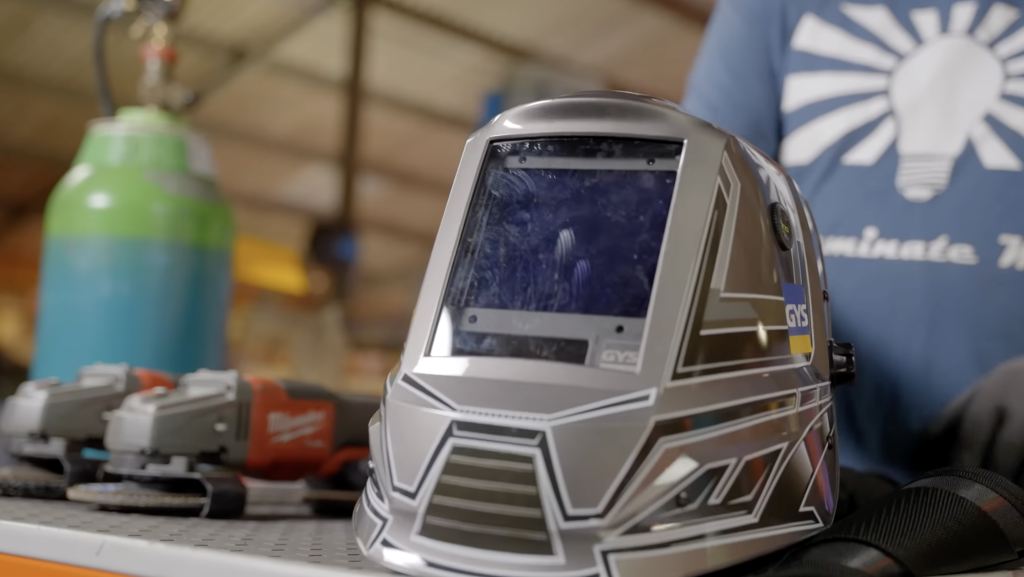
The energy coming out of the arc is intense so you need to protect yourself from it. Like the sun, it generates UV and infrared light which can cause skin cancers and do all kinds of damage to your eyes, so you’re going to need a welding helmet. I recommend getting a ‘solar powered’ one that generates LCD shading automatically when you strike up the arc, otherwise you’ll constantly be moving the shield up and down when you stop welding to see how you’re doing. It also means your eyes will be protected all the time you’re working.
You also have to think about the noxious gases that are coming off your welding and going into your lungs. At the very least you should wear an FFP3 standard face mask, but an air-fed helmet that pumps filtered oxygen from a pack on your back through a little umbilical cord will give you the best protection. The last thing you want is a big glob of molten metal pouring onto your hand so get a sturdy pair of leather gloves and remember, your clothing is flammable, so wear a leather apron too. If you’re going to get really stuck in then opt for a heat reflective and fire-resistant jacket.
Welding wire: size matters
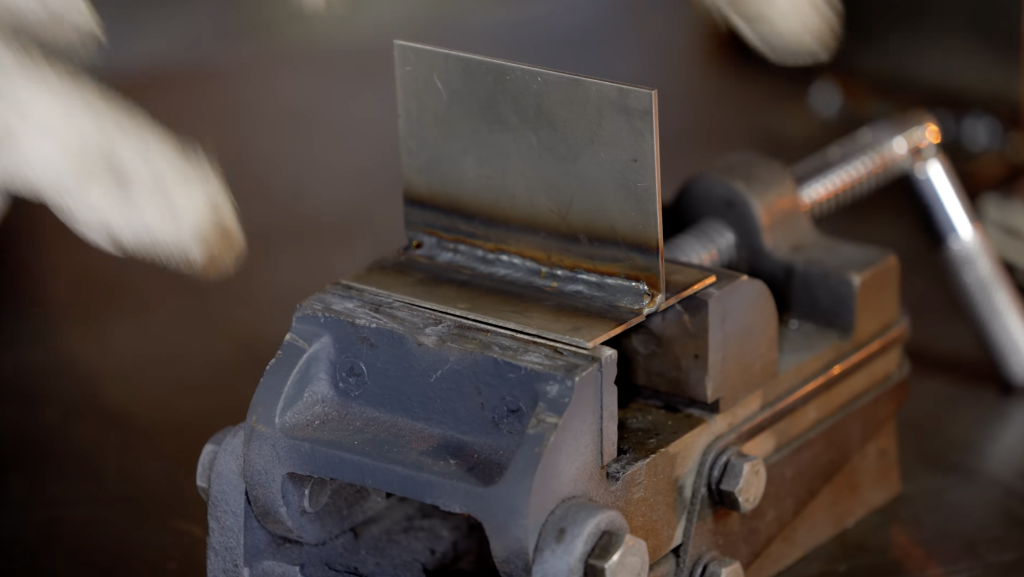
The diameter of the wire you use is dictated by the thickness of the material that you’re hoping to stick together, which in turn dictates the amount of current you need to melt it. Typically, wire is available in 0.6mm, 0.8mm, 1mm and 1.2mm diameters, 0.6mm is normally good for really thin sheet material and I tend to go for 0.8mm wire because I don’t generally do that much really thin bodywork.
If you’re anything like me, you’ll be curious to know what would happen if you use the wrong size wire, and of course, I’ve carried out lots of experiments. For example using 0.8mm wire on 0.8mm thin sheet metal creates a weak weld because you basically flood the join with too much molten metal. At the other end of the scale, using 0.8mm wire on 10mm thick material creates a weld without structural integrity because there’s not enough material in the wire or heat in the arc to accomplish the job. On the face of it, it might not look like a terrible weld, but on closer inspection, you would see that there was almost no heat discoloration around the weld bead or any weld penetration into the metal because the weld was just not hot enough.
Which welding gas?
In MIG welding, an inert gas is used to shield the electric arc and molten metal from oxygen in the atmosphere. Although often bundled in with MIG welding, MAG welding (Metal Active Gas), gases like CO2 are added to the argon to make the weld more reactive. Without this shield gas, the molten metal would oxidise or burn, but the type you need to use varies depending on its application.
There are four main types – pure argon for aluminium and TIG welding, then light, universal and heavy for MAG welding – and each contains a different amount of carbon dioxide (CO2). Typically, light contains 5 per cent, universal 12 per cent, and heavy 20 per cent, and the idea is that the more CO2 there is, the more reactive the weld becomes. If you use the heavy gas on a light job you’re getting too much penetration and if you use a light gas on a heavy job, it goes the other way.
Generally, when you’re working on the thin steel of car bodywork, a light gas is the way forward but the caveat to that is, if you’ve got something like a chassis with a bit of surface rust then it might help to have a bit more penetration to help clear the way through it, in which case, universal gas might be a better option.
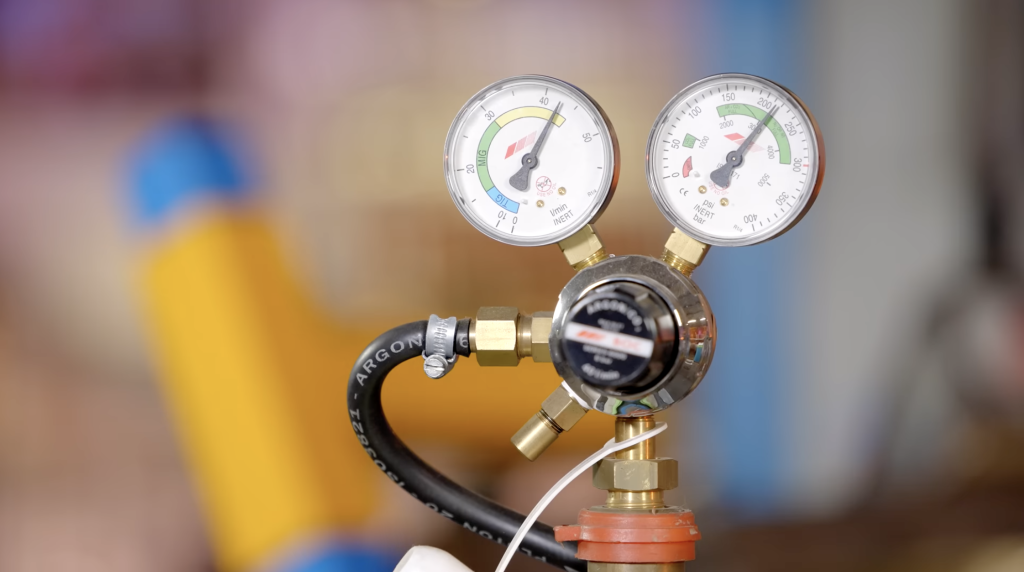
Once you’ve decided on your gas, the next thing to do is choose the right amount to use in order to create that protective shield around your work. If you’re working outside and it’s a bit blustery, then of course, you might have to crank it up a little bit, but if you have too much gas, you will affect the integrity of the weld. A clever way to make sure you’ve got just the right amount is by using a pea shooter flowmeter. As the name suggests, it’s just a pea, or a ball, sat in a tube, that floats on top of the flow of gas from the outlet of your MIG torch, giving you an accurate indication of the actual flow of gas protecting your weld.
How to hold the weld torch
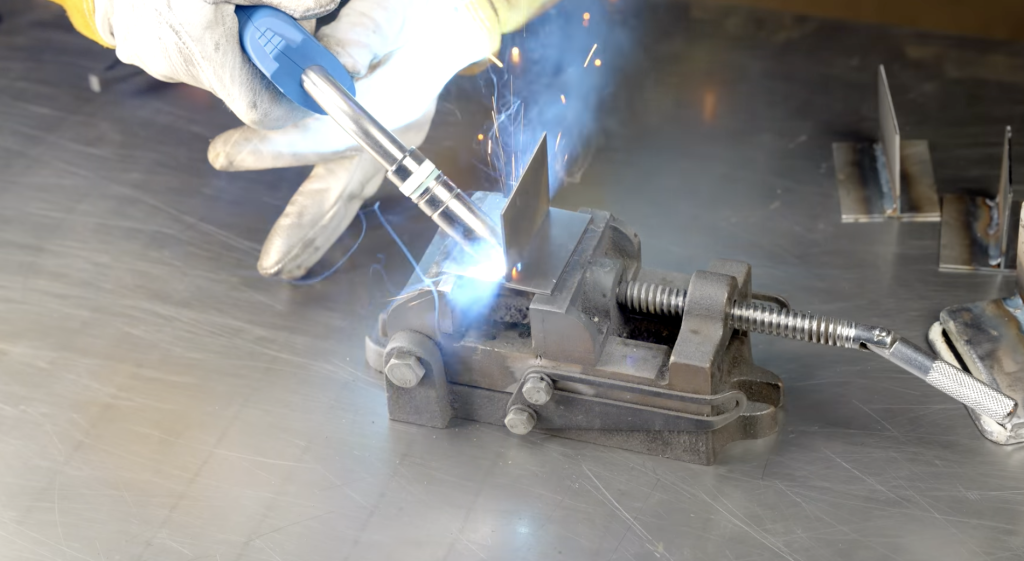
The way you hold the MIG torch is very important because it affects the formation of the pool of molten steel and the bubble of shield gas around your weld. First of all, you have to tilt the torch 45 degrees from horizontal, perpendicular to the direction of the weld, then 15 degrees back from the direction you will be welding in.
Most importantly, ideally you need to push, not pull, the weld along your join, even though that isn’t always possible with difficult access. The speed you pull the torch along also has a huge effect on the outcome of your weld, which can be tricky to judge, but what you’re looking to hear is a nice even sizzle. If you go too fast, the heat won’t get into the job, and if you go too slowly you end up with a much fatter weld and too much heat gets into the metal so it discolours.
Hold fire: the final prep
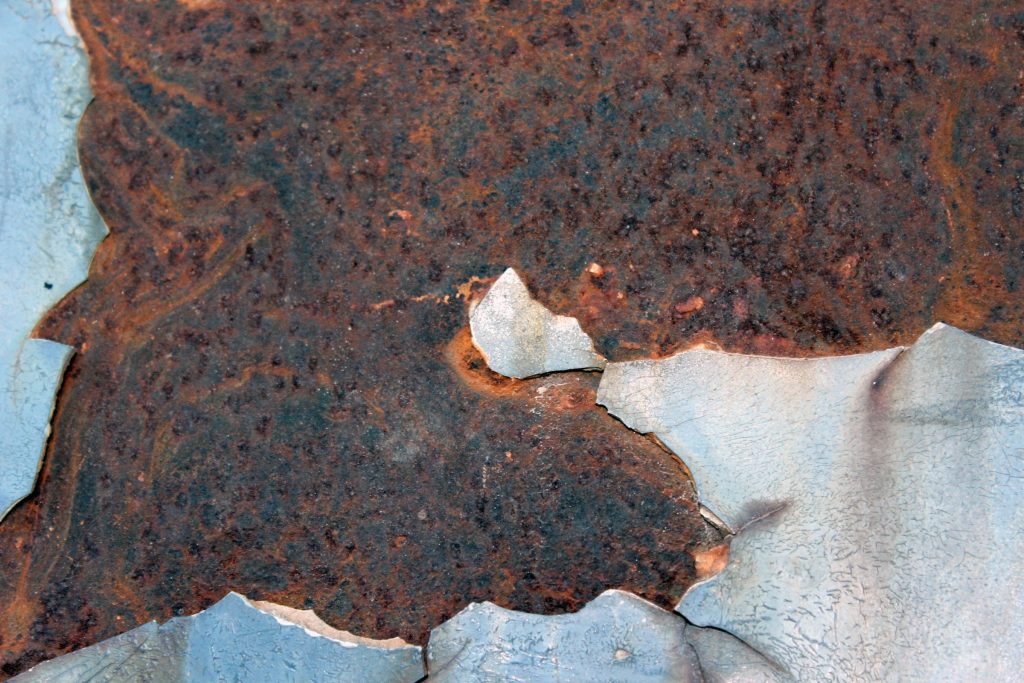
Before you put all of this into practice you need to prep the metal because any rust is going to contaminate the weld. To get through to that shiny metal, use either a standard grinding disc or a flap disc. I tend to go for a flap disc, because it’s much more forgiving, but also you can get different grades of coarseness depending on the work you’re trying to clean. Also, remember to clean the metal for your earth clamp so you get the best possible connection and position the clamp close to your weld to minimise resistance – both help to make a consistent full power spark.
Read more
Edducation: What’s the best project car for this father/daughter team?
Socket Set: Got a MIG welder? Here’s how to choose the gas
Reviewed and rated: The best workbenches in 2022


Am in love with the teaching.i will like to be following the teaching