
Jesse Crosse started as a motoring hack in 1982, was launch editor of Performance Car magazine and signed up an unheard writer called Jeremy Clarkson. He now writes about automotive technology, and spends his time restoring a pair of fast Fords, a 1968 GT390 Mustang fastback, and the same Ford Sierra Cosworth long-term test car he ran while editor of Performance Car. Here he shares tech tips for the have-a-go DIY car enthusiast.
Engine oil changes may not be everybody’s favourite job but I always get a feeling of satisfaction when it’s done. Engines are remarkable things. It’s easy to regard them as that lump under the bonnet that goes and makes a good noise, but years of rebuilding them has made me aware of just how delicate and vulnerable some of the internal components can be, especially if the lubrication system isn’t looked after.
Before we get into the nitty gritty of doing an oil change it is worth thinking about how oil actually lubricates internal components like those crucial main and big-end bearings for example. The clearance between a crankshaft journal and the bearing shell may be less than two thousandths of an inch depending on the diameter of the journal. The journal is hardened steel and the surface of the bearing shell is concoction of soft non-ferrous metals. Any debris, incorrect oil, the presence of water or combustion products in the oil, can do lots of damage.
The clearance is there to accommodate an oil film under pressure and when the engine is running the bearing and the journal shouldn’t actually touch. The process is called “hydrodynamics” where a wedge of oil is built up between the two moving surfaces like water beneath a surfboard, leaving a film of oil between it. The two surfaces have to be moving over one another for the hydrodynamic effect to get going, which is why it’s so important that an engine builds up oil pressure the instant it starts. That’s why a well maintained lubricating system, free of muck and debris is so important.

Now, the oil change itself. The first thing I do is warm the engine up, not just until the water temperature gauge is registering, but long enough for the oil to get warm and thin so it all drains out. A short drive is the best bet, then I’ll leave the car standing for maybe 10 minutes to let the oil drain down into the sump. The next job is to remove the drain plug, which will be a sizeable-looking hexagonal bolt on the lowest part of the sump, usually on a corner.
Ideally the car should be level when the oil is drained to get it all out but if you need to, jack the front end up (assuming the car is front-engined) and set it securely and safely on two axle stands so the drain plug is in reach. Make sure the car is jacked and supported at the vehicle’s appropriate lifting points and the ground is level. If it looks like the angle of the car (and sump) will prevent all the oil draining, it’s easy enough to drop it back onto the wheels temporarily while the draining is taking place.
An old, rectangular washing-up bowl is ideal for draining into and if there isn’t one handy now is the time to treat the kitchen to a new one. Anything big enough to catch all the oil with room to spare will do, but rectangular bowls are the ideal shape. Why? Because when that drain plug comes out, the oil will rush out like water from a hose almost horizontally at first, then the stream will become more vertical as the sump empties. This means the point at which the oil hits the receptacle will move as the oil drains and a longer rectangular shape bowl will avoid an awful mess on the floor.
Once the bowl is in place, use a socket or ring spanner to loosen the drain plug, not an open-ended spanner as it might slip and round-off the head. Make sure the socket or spanner is firmly on the bolt head so as to avoid slipping and rounding it off, then loosen the bolt. Some drain plug hex heads are not that deep so it can pay to use two hands, one to hold the socket square on the bolt and the other to apply pressure to the lever. Once the plug is loosened, I do the rest with my fingers, firmly and gently so as to avoid dropping the bolt into whatever you’re draining the oil into.
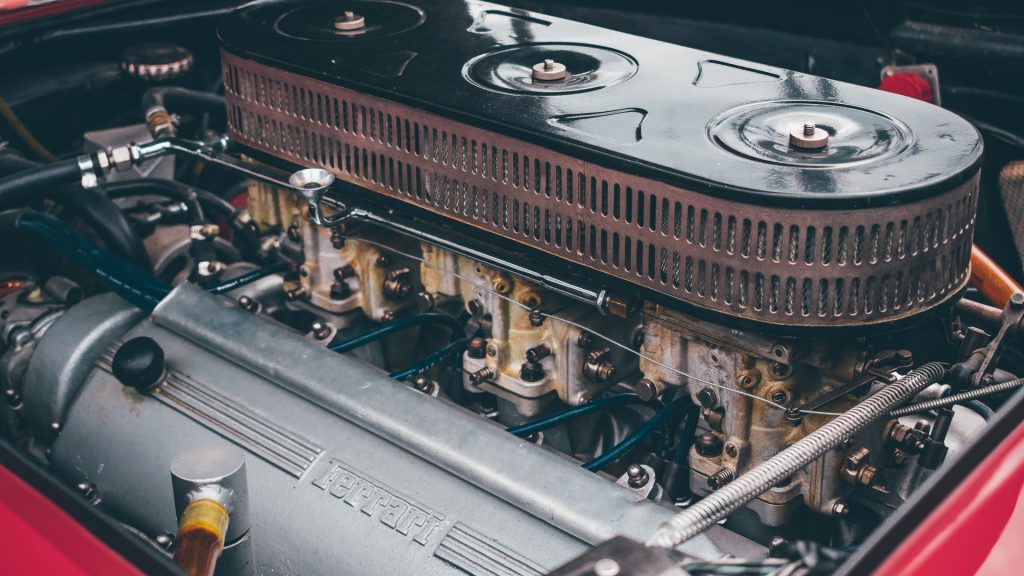
Photo: Kayle Kaupanger, Unsplash
While the oil is draining, I change the oil filter. Don’t ever be tempted to skip this step, the filter will have trapped any debris, from bits of metal to combustion products, any of which will do damage if pumped around into those bearings and elsewhere. There are two common types of filter. Earlier cars like MG and Mini have reusable tubular housings containing a paper filter element and lots of more modern cars still use a similar principal.
The other option is a screw on canister filter which simply unscrews in its entirety from the filter housing. On most cars this will be located on the engine block but on more exotic machinery, like a Porsche 911, it can be remote from the engine. The first type will have an integral bolt of some type, or the complete top of the housing will unscrew using a spanner. The canister type is screwed on by hand but is usually hard to loosen off so it pays to invest in an oil filter wrench. When unscrewing a filter cartridge like this, bear in mind it’s full of oil so keep it upright and put plenty of old rags under it to avoid a mess in the engine bay.
Fitting a new canister is the reverse of removing one. Clean up the face of the housing and smear some clean oil on the canister’s rubber sealing ring, then screw it on. Once finger tight, tighten it another three quarters of a turn. It should feel tight at that point but not so tight it couldn’t go further if leant on. By now the old oil will have drained out so I’ll clean the drain plug and fit a new copper or plastic washer (which type depends on the car and its age). These are widely available in any high street car parts store, online or from a local dealer or garage.
Get underneath again and refit the drain plug finger tight first, then tighten with socket or ring spanner. Ideally, the drain plug should be tightened to the correct torque setting and I always try and find out what it is however old the car. There are good reasons for doing this. The first is confidence that it’s tight enough not to drop out (eek!) and the second (especially important if the sump is cast alloy) is using the correct torque avoids damaging the thread.
Now it’s time to refill with the recommended grade of oil for the engine. I always double-check I’ve actually refitted the drain plug at this point and not just done it in my head. In my youthful excitement, I once refilled my Austin Mini with Duckhams 20W/50 unaware that it was all pouring straight out of the bottom onto the garage floor. I never did it again.
Check the amount of oil needed for an oil change in a manual. It’s usually slightly more than the amount given for the capacity of the engine due to oil in the filter and the oil ways but it’s not exact, so do the last bit of filling gingerly. Check the level on the dip-stick as you go to avoid overfilling – bearing in mind that the oil poured into the top of the engine takes a little while to drain down to the sump.
Last of all, I decant the old oil into the container or containers it came in (always worth hanging on to one for this purpose) and dispose of it at the local council recycling centre – engine oil must never be poured into land drains under any circumstances. And that’s all there is to it, transfusion completed, job done and one happy engine!


I suggest that before you start the engine after the oil change that you pull the High Tension lead off the coil and crank the engine over on the starter motor. This enables the oil pump to fill the filter housing. On some oil filters you can partially fill them before replacing . This ensures when you do start the engine that oil pressure is immediately available at the critical bearings.
Better removing the spark plugs and HT lead before spinning the engine over, the oil pressure will be up in seconds and with the filter full you can check for any leaks, far less strain on your battery and starter motor.