Of all the unsexy projects and tasks that make up the – sometimes painful – steps of any project or restoration, cleaning the parts and pieces while everything is apart probably tops the list of least fun tasks. It’s a necessary evil though and a little attention to detail at this point goes a very long way in the final result. There is no sense in “saving time” by leaving everything dirty and dealing with grease and grime working its way back into places it shouldn’t be and causing you to do the task twice.
Cleaning can be simple as wiping off some gunk and as involved as soaking a bunch of little parts in a solution overnight before a thorough scrubbing. Regardless of how deep you need to clean, here are seven tips that will make sure your final product is one to be proud of.

Start soft
Start with the easiest and safest form of cleaning first. This often means a wipe with a clean towel or rag to see just how bad the situation really is. Sometimes just a clean rag is enough to remove everything that needs to go and leave the surface in acceptable condition. If it isn’t, it will at least tell you just how bad it is and what the right course of action might be.
Glove up
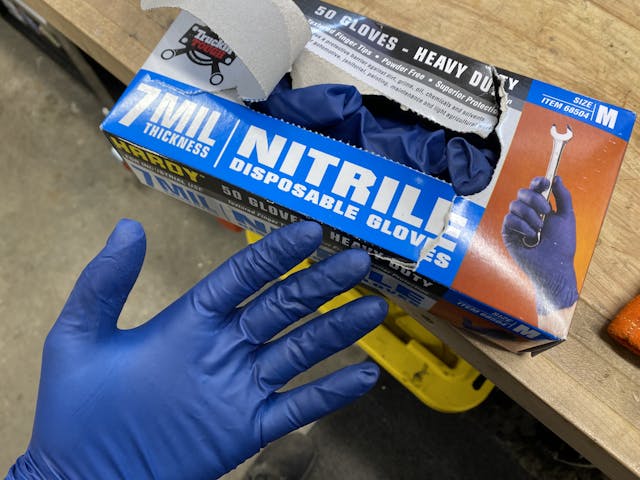
This isn’t an article about safety, but it bears reminding all you DIYers that many chemicals used in automotive processes are hazardous and may be damaging to the human body – and it might not be immediately evident. For example, a common cleaning hack is to use brake cleaner to remove oily residue, but it is also absorbed by the skin and carried in the bloodstream to the liver where it sits, and sits, and sits. Our organs cannot process chemicals like carb or brake cleaner and therefore it just accumulates and can cause long-term health issues. Disposable nitrile gloves keep fluids and chemicals from being absorbed and while they can be inconvenient at times, it’s better than doing yourself harm.
Use the right stuff
There is a wide range of chemicals on the shelves of your local car parts store that claim to remove the nasty grime with a spray and rinse process. Sometimes those work easily, other times it causes chaos. While they may remove grease they can leave residue on aluminium surfaces and cause corrosion if not rinsed thoroughly.
The same goes for rubber pieces. Warm water and a light detergent is often the best solution to prevent rubber from distorting, discolouring, or being attacked by aggressive solvents. On the other side oven cleaner can work miracles on cast iron pieces that have tons of baked-on grease and can only be chipped away with aggressive wire brushes before a water rinse. Match the product and process to your material for best results.
Be careful with your finish
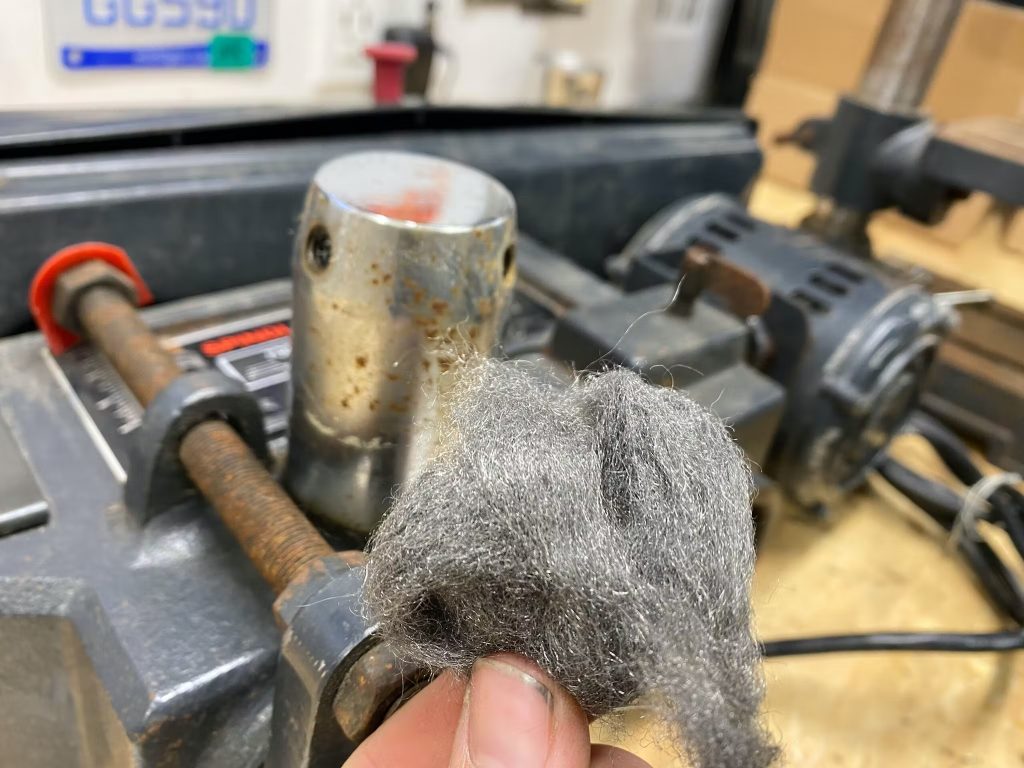
A key thing to bear in mind when cleaning old car parts is finish you want on the surface. If you are covering the part it might not be a big deal that there are some scrub marks or a less than perfect surface finish. If you are painting or polishing the piece though, suddenly you want to exercise a lot of caution while cleaning so that any marks that happen during cleaning don’t pop through or create more work to remove later.
A steel wire brush on soft aluminium is a prime example of something that can wreak havoc quickly. Plastic or brass bristles are much softer and will prevent scoring or damaging the finish and save you work in the end despite taking a little longer to actually remove grease and grime. Even a green Scotch-Brite pad can be too much for some rubber pieces, so be sure to check in an inconspicuous area to see if your abrasive material will leave its mark or not.
Hide the evidence
Dry or wet blasting are easier than ever with home kits available which are affordable enough that it’s not out of the ordinary for someone doing enough restoration work to make the investment in a cabinet. The key to remember if you are so lucky is to make sure to blow or rinse out all the blasting media from the nooks and crannies of whatever gets cleaned up. Having that sand, walnut shell, aluminium oxide, or glass bead pop out while painting or assembling is frustrating at best and damaging at worst.
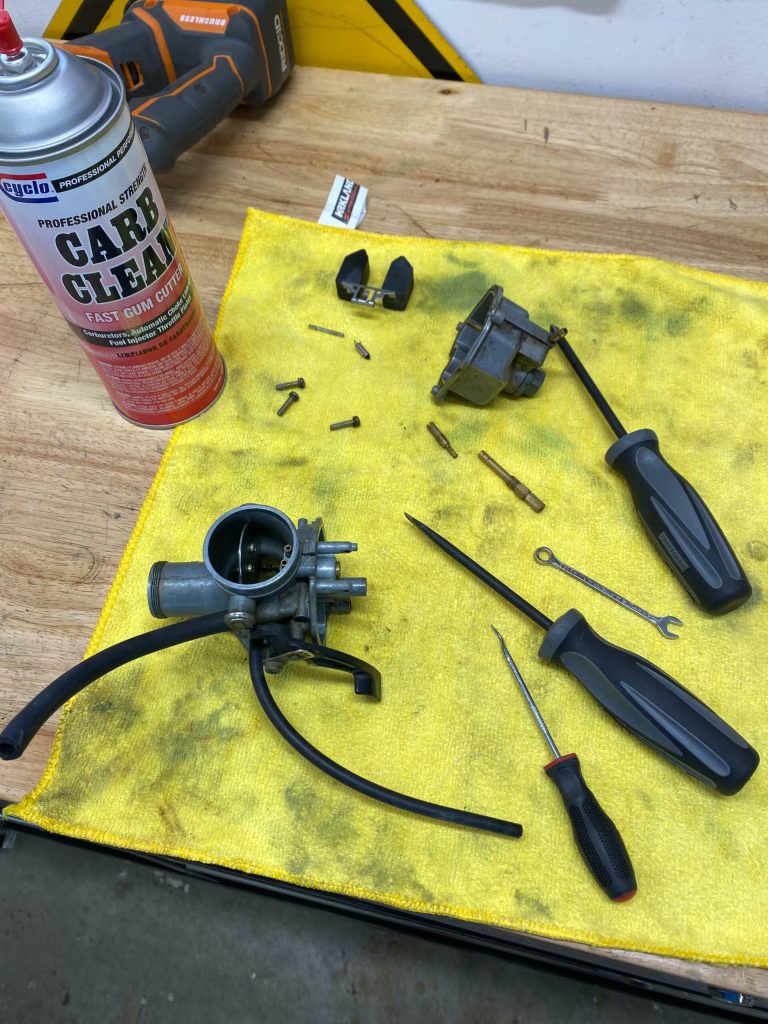
Careful with the tags
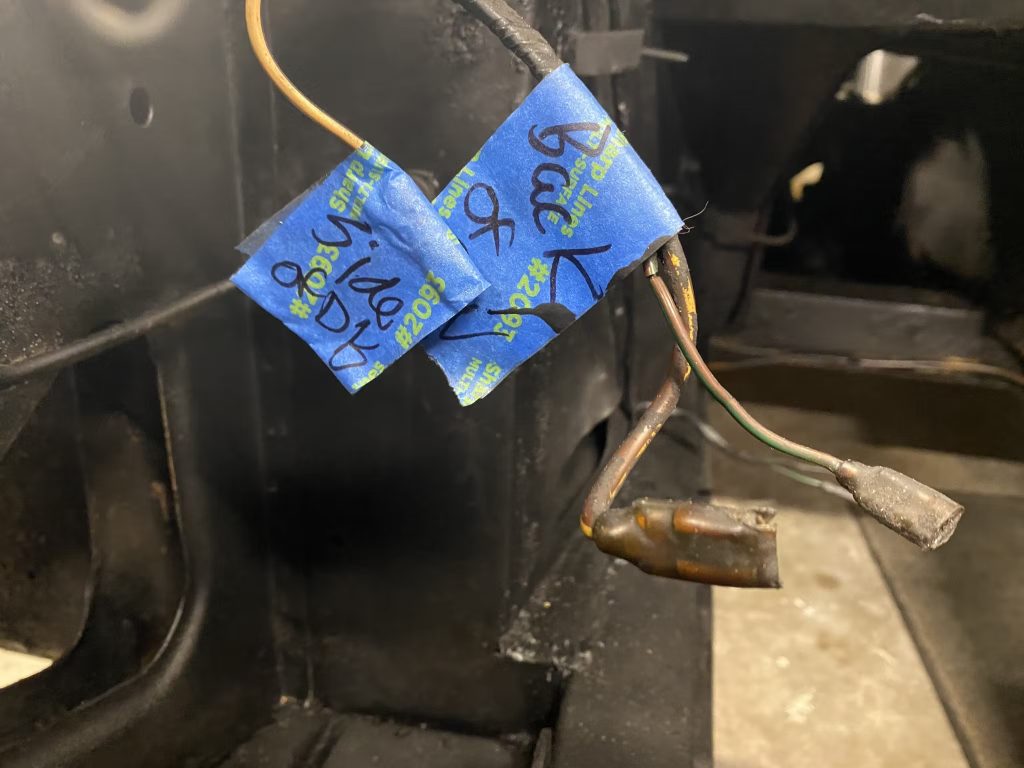
It’s important to not ruin the proper bagging and tagging of all the parts and pieces you did during disassembly when you go to clean everything up. If you have tags make sure they stay legible or transfer them after the cleaning is completed, piece by piece. If there are adjustments that you have to remove to fully get something clean – think carburettor adjustment screws or adjustable suspension components – be sure to document the adjustment so you can use it as a ballpark during reassembly.
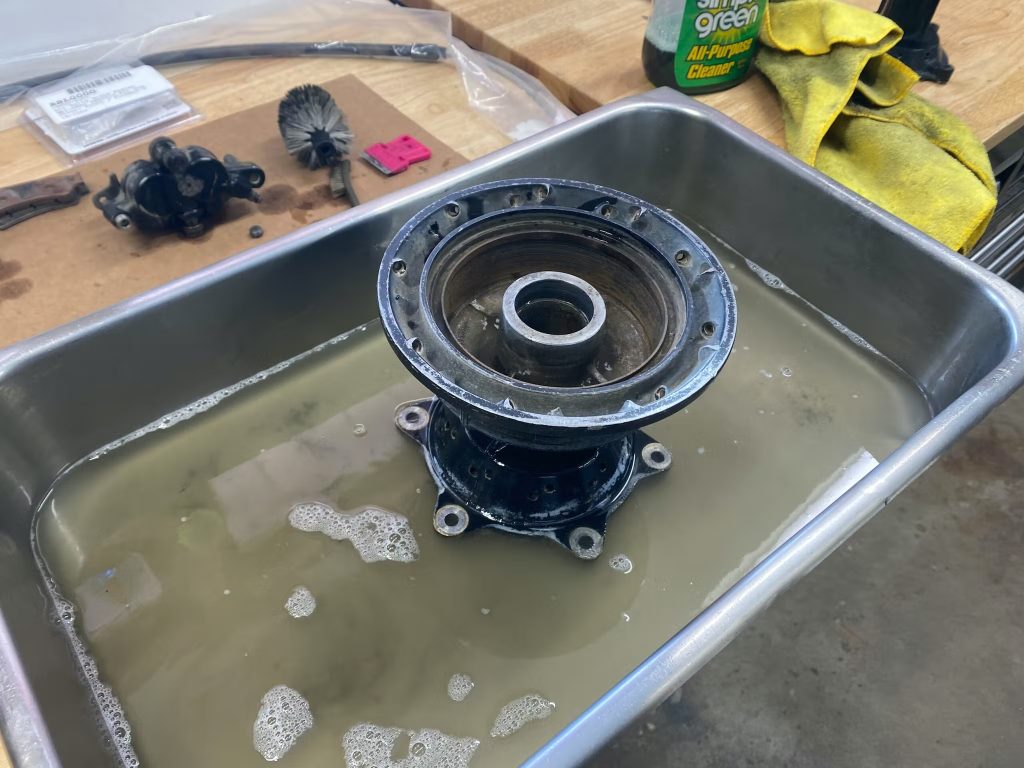
Under pressure leads to failure
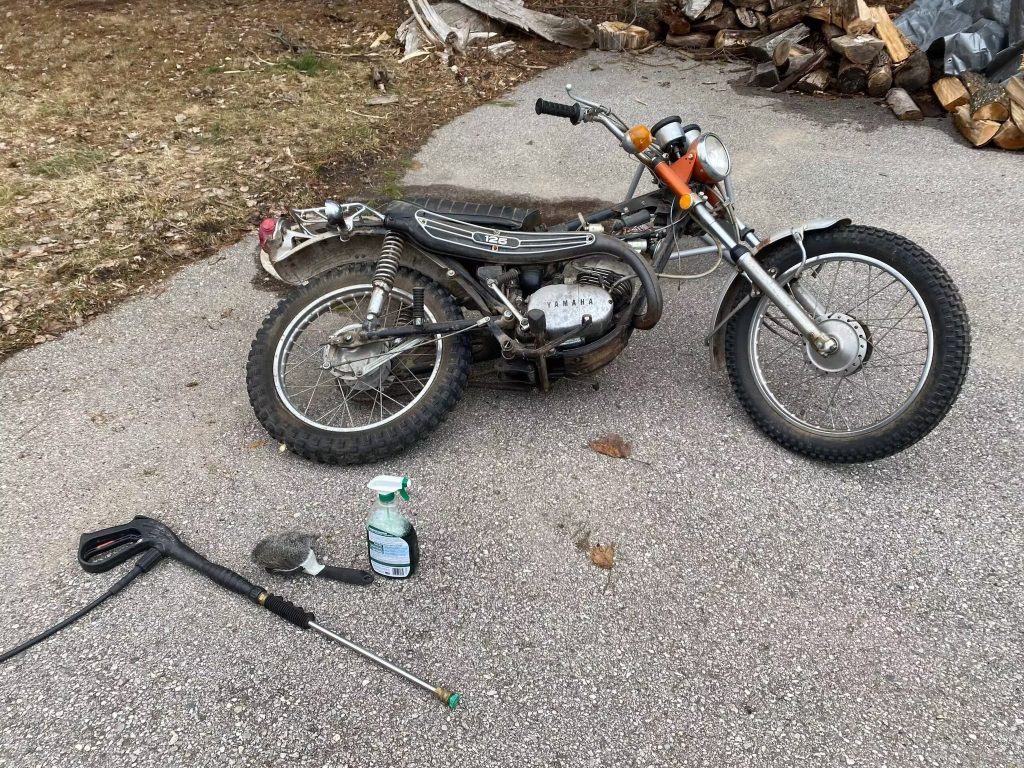
As tempting as it is to toss a gearbox or rear axle in the boot of your car and take it to a jet wash where the high pressure nozzle can blast away the grease and grime, proceed with caution. Many of the gaskets are not made to withstand the high pressure pinpointed in one little area and can quickly fail and allow water and soap to flood inside and cause rust, corrosion, or leaks from the damaged gasket.
If a soap-and-water wash is required often the best course of action is to use nothing more than household hose water pressure. That pressure is low enough that it should be safe for gaskets and seals while still getting things clean.
While tedious and oft annoying, cleaning your project will make for a much more satisfying assembly. Take the time to make every project something worth showing off and being proud of and it will elevate your DIY confidence far more than you might realise. Have a tip not on this list? Please do share it, in a comment below.
Via Hagerty US
Check out the Hagerty Media homepage for daily news, features, interviews and buying guides, or better still, bookmark it.